How to shoot in-camera multiple exposures with Fujifilm
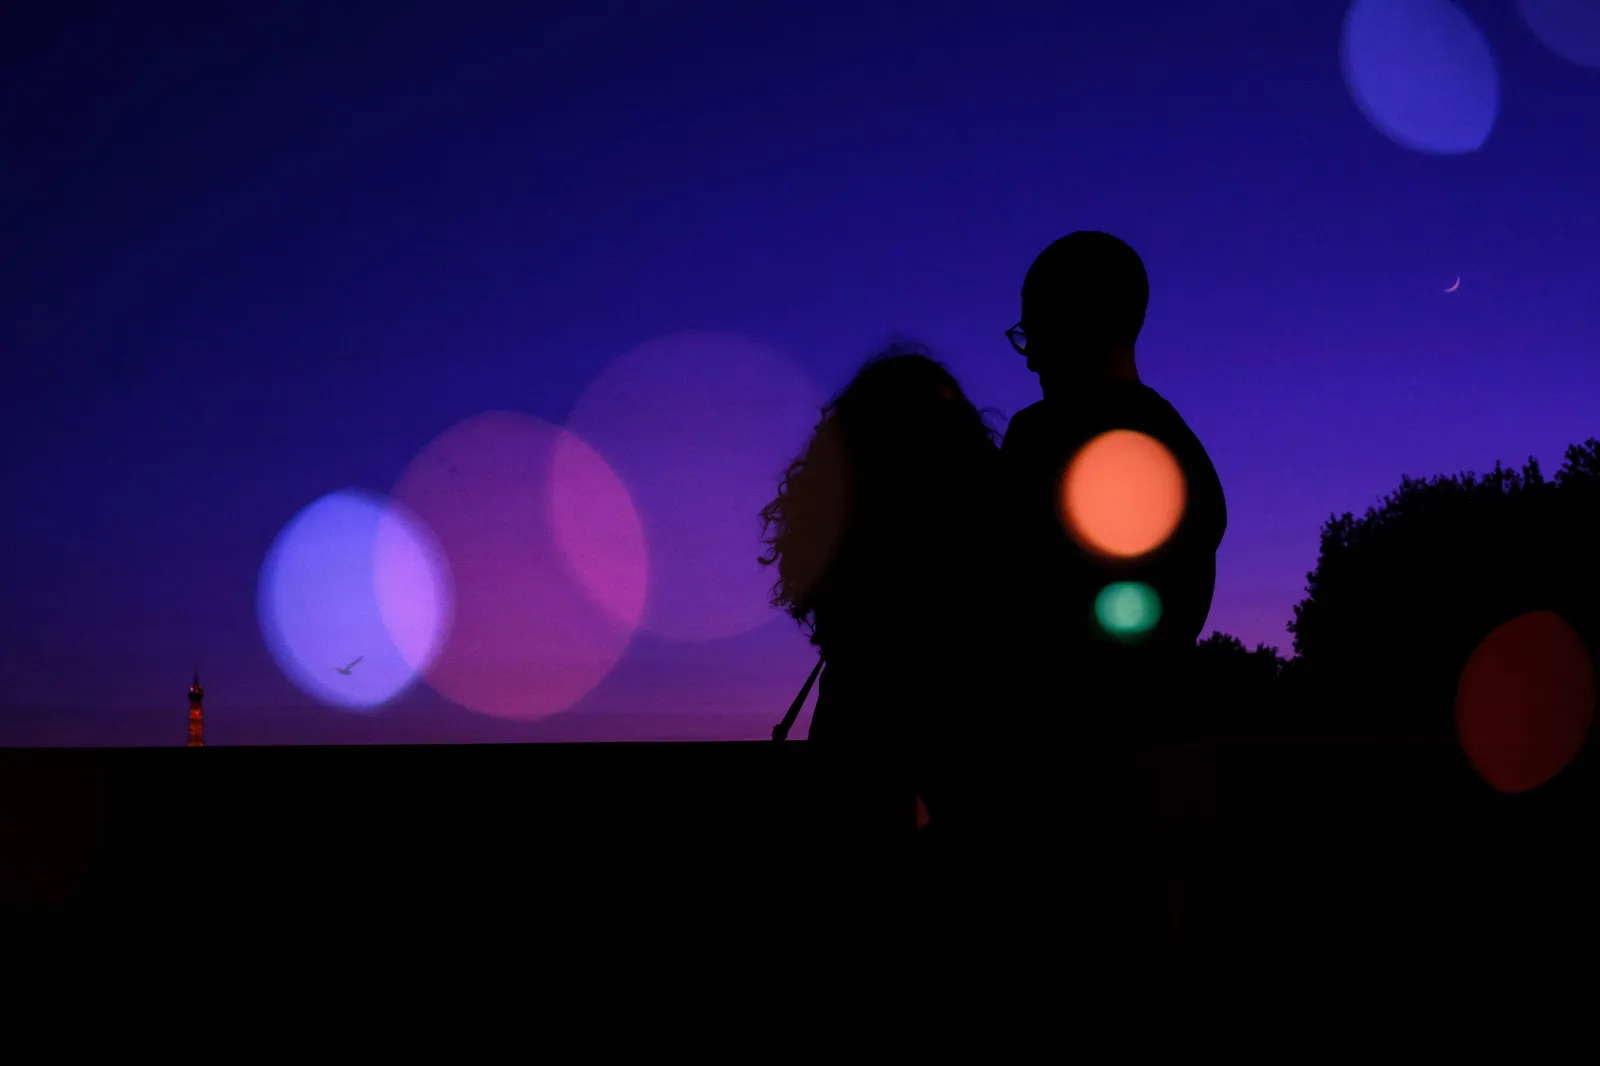
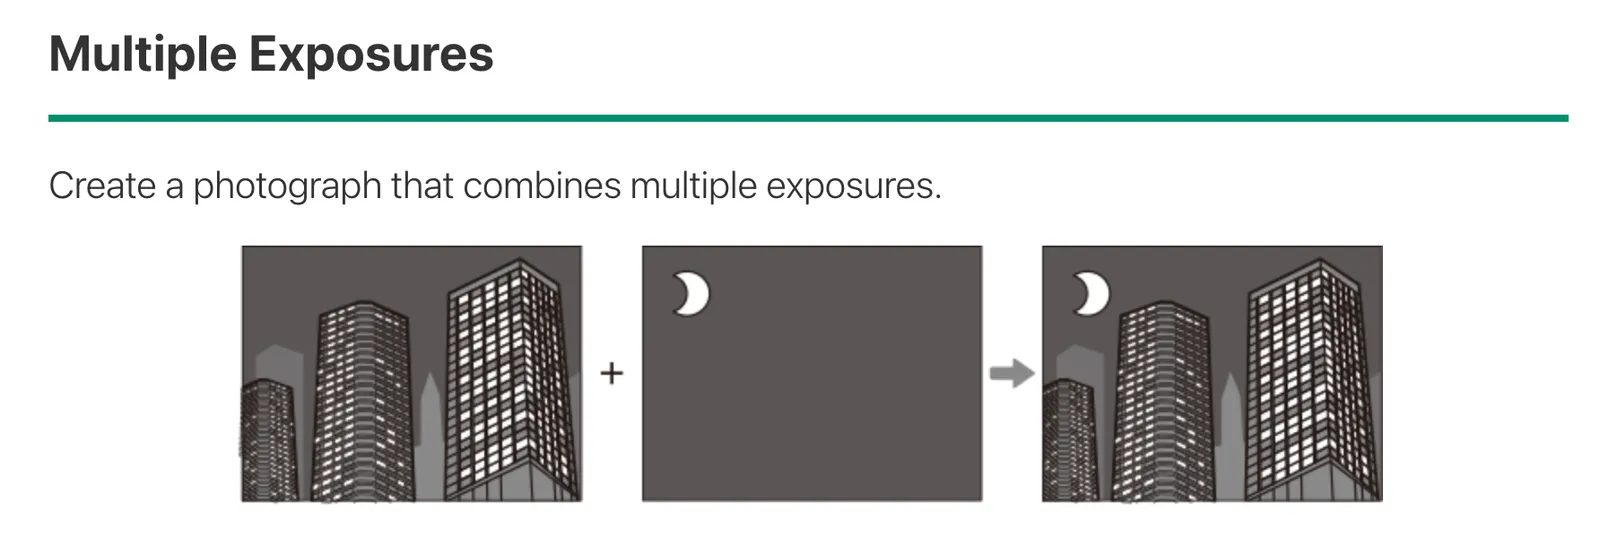
I love to shoot double and multiple exposures (Fujifilm guide here). Back in the days of analog film, photographers had to physically rewind their film rolls to shoot over the exact same frame twice. It was a mechanical, and not so easy, trick. Today, Fujifilm cameras let you do this digitally right in the camera.
You could combine images later in Photoshop. But doing it in-camera feels different, and make total sense when you already shoot SOOC jpegs, using Fujifilm film recipes. You get serendipitous results and happy accidents, and the process feels organic. I want to explain the exact settings and show how my workflow changes depending on the camera I use and/or the conditions.
My gear from restriction to flexibility
I own a few different Fujifilm bodies. My old X-E1 is strict. It only allows exactly two exposures per frame, ordinary double exposure. It does not have any modern blending modes. This restriction forces you to be intentional. You have to anticipate how the light from the second shot will overlap with the first. You are painting with light in a very literal sense.
Newer cameras, like the X-T30 II and X-E5, allow you to stack up to nine images in a single frame. The biggest technological advantage of these newer bodies is the electronic viewfinder. The EVF displays a ghost image of your previous shot. You can line up your second photo with surgical precision. These cameras also give you access to four distinct blending modes.
Understanding the blending modes
This is the technical core of the process. The Fujifilm manual defines four ways the camera merges your files.
Additive works exactly like celluloid film. The sensor adds the light from each successive exposure together. The main problem is that the final image overexposes very quickly if your scene is bright. A common trick is to intentionally underexpose each shot by one full stop using the exposure compensation dial.
Average is the easiest mode. The camera automatically balances the exposure of all the stacked images to build the final frame. This is the most recommended setting for beginners because you do not have to calculate exposure math in your head before every click.
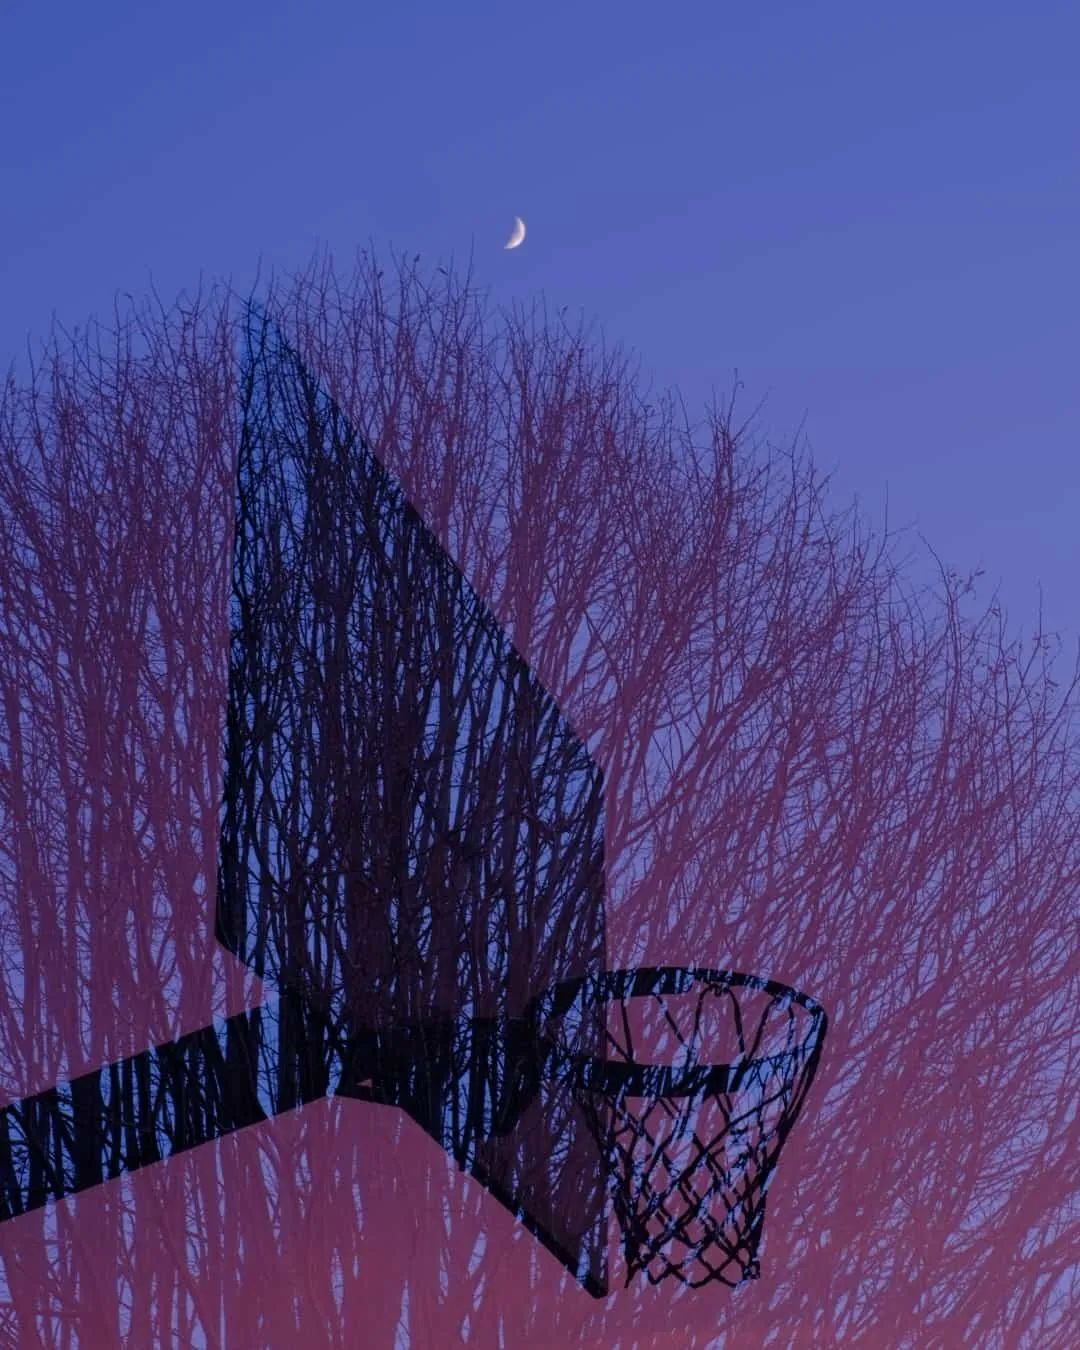
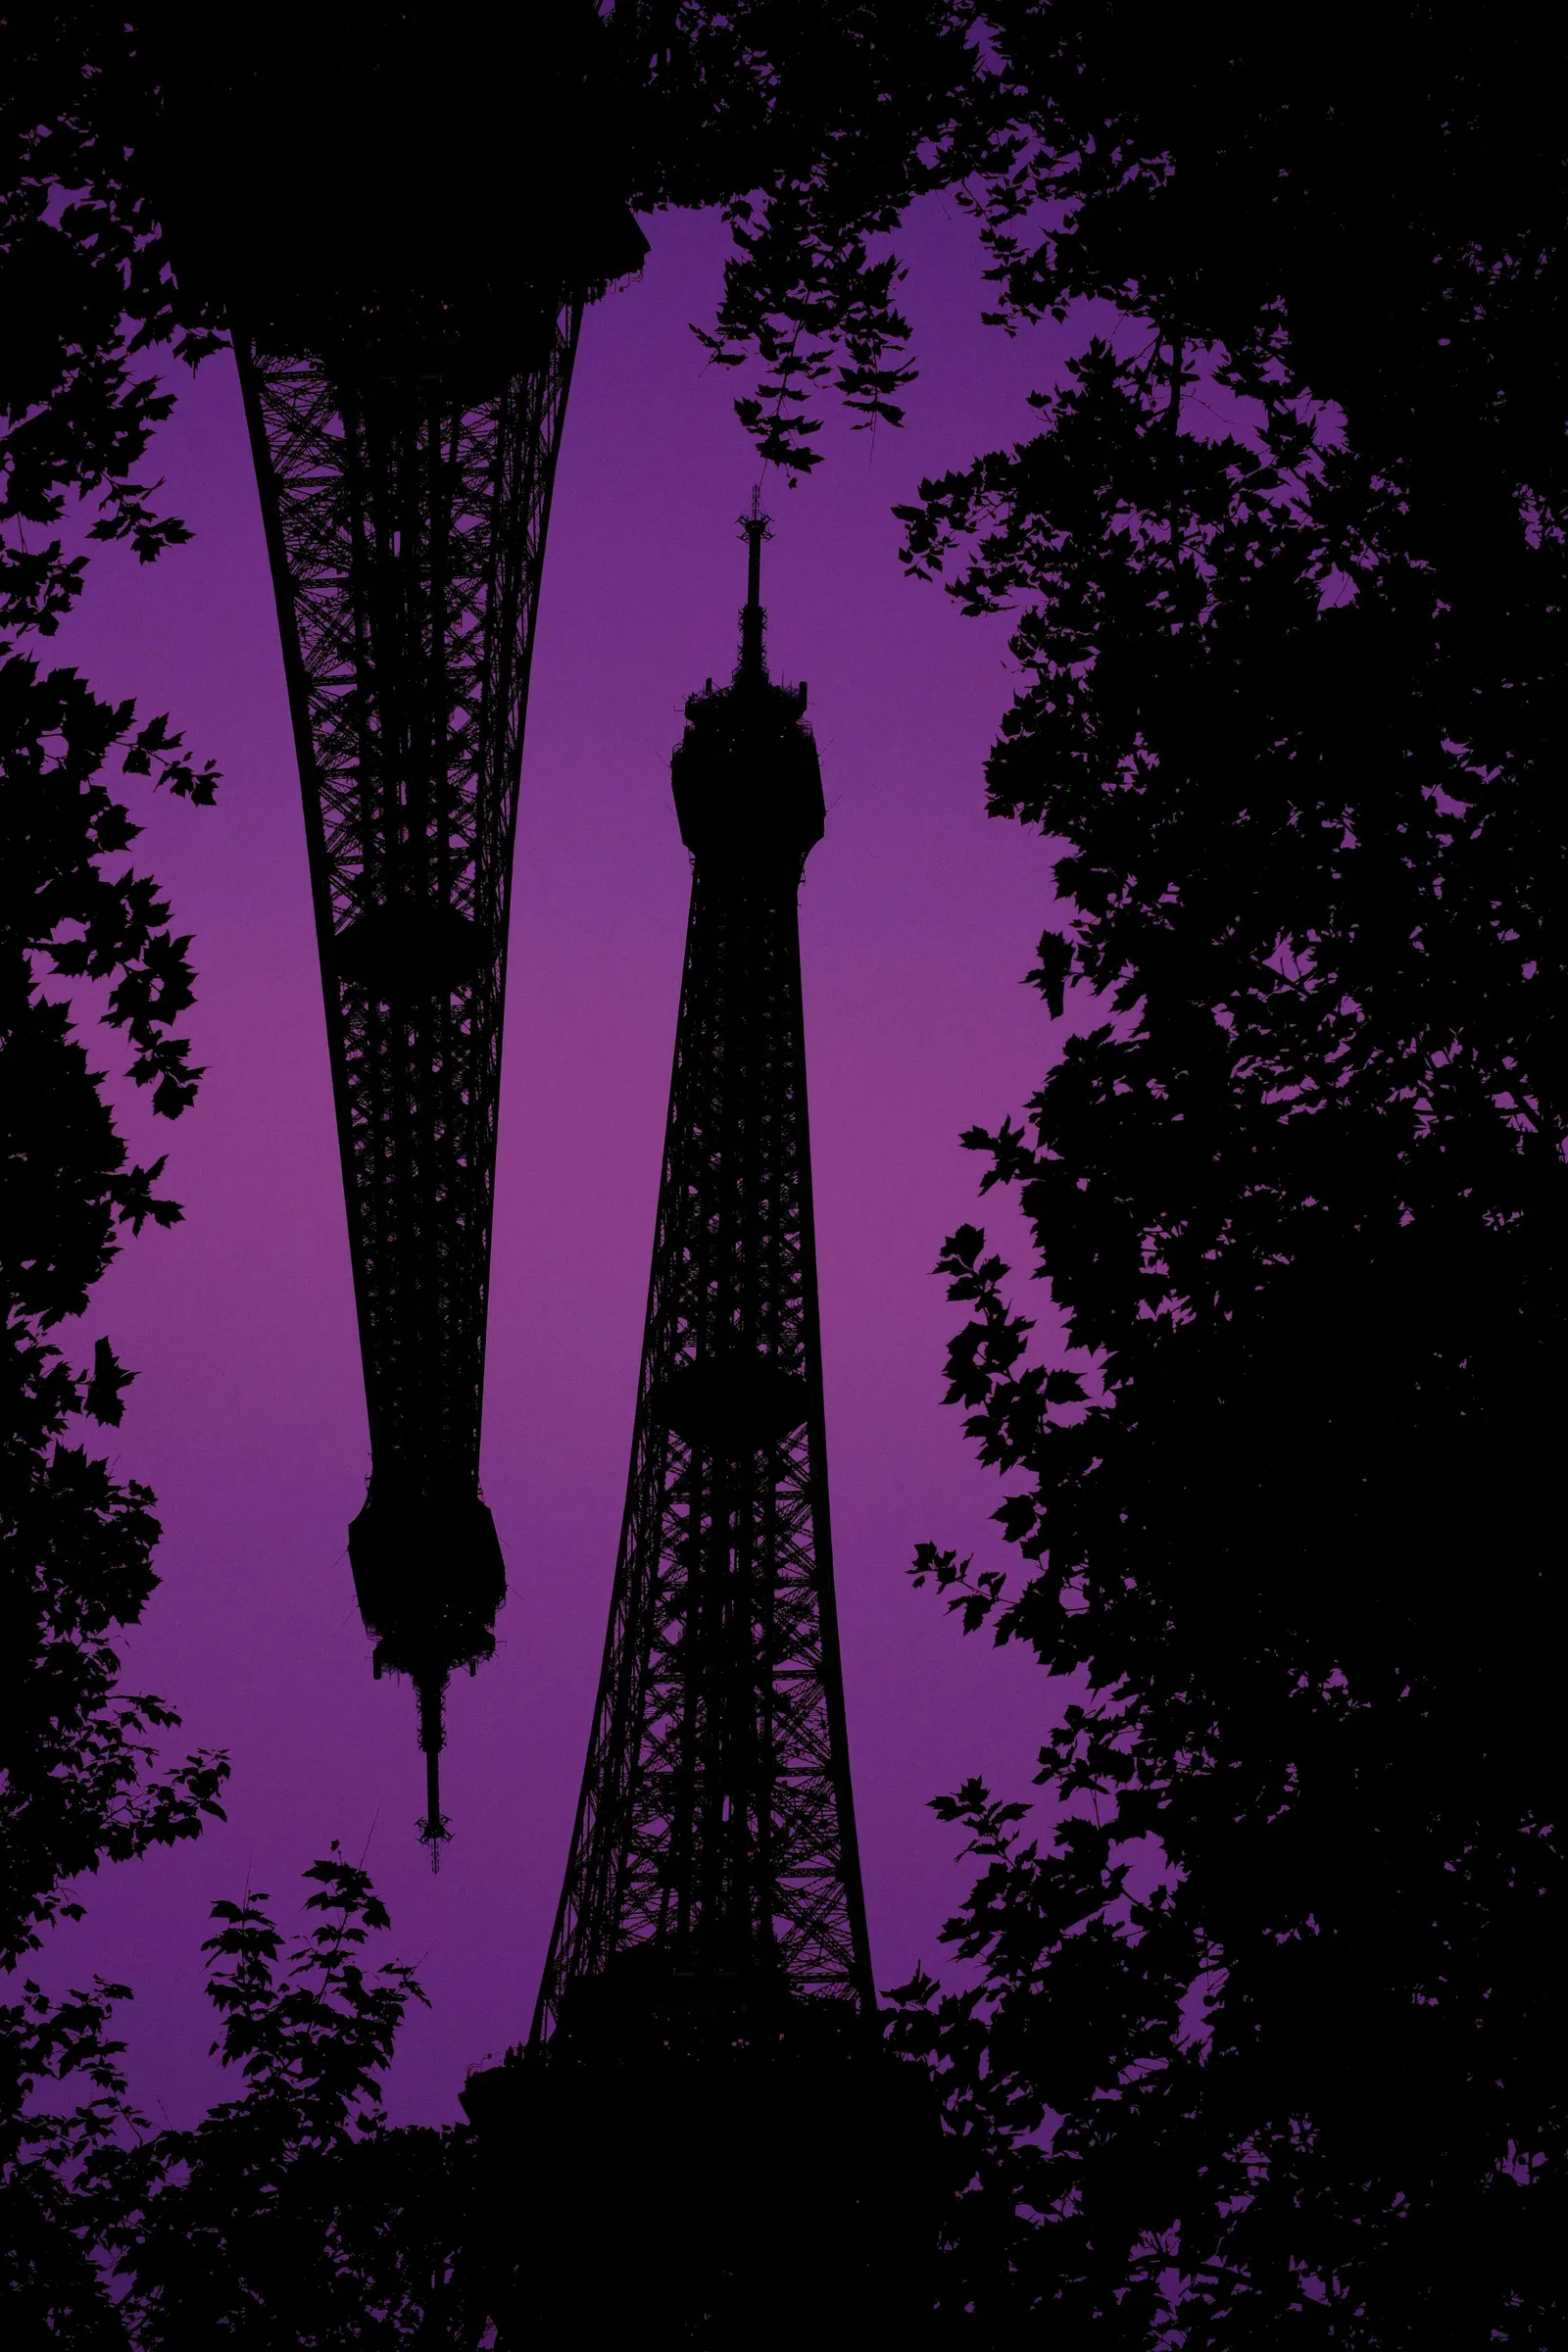
Bright prioritizes the light areas of the frame. The bright parts of your first image stay intact. The second image only fills in the dark areas. You can shoot a backlit portrait to get a dark silhouette. Then you take a photo of flowers or tree branches. The floral pattern will only fill the dark shape of the person.
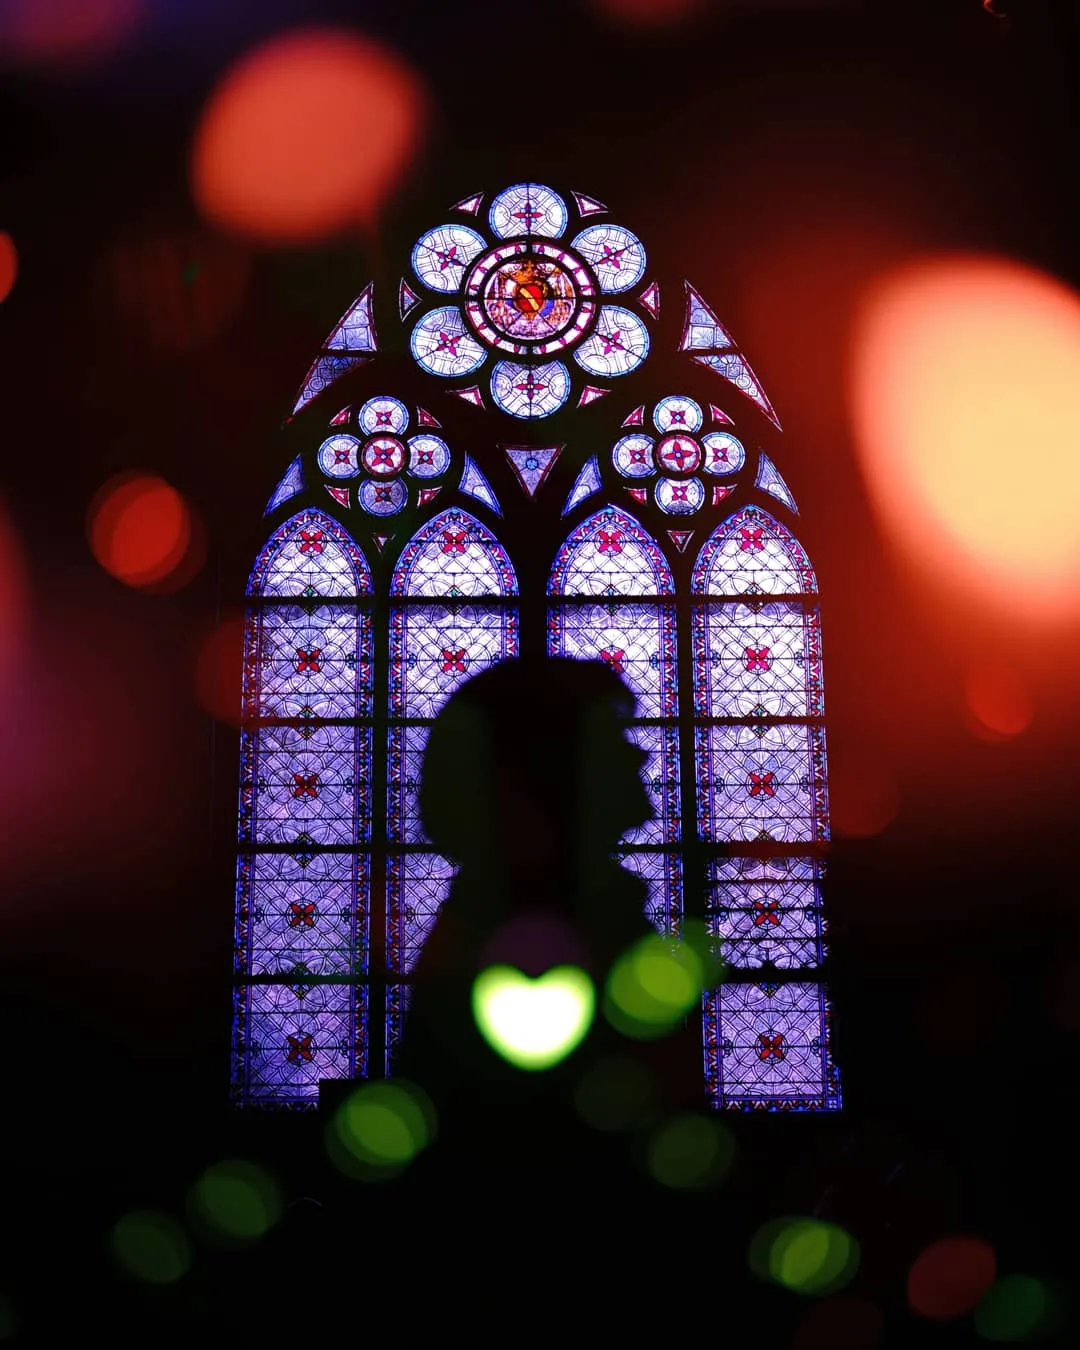
Dark does the exact opposite. The camera keeps the dark areas intact and the second image only prints onto the bright areas.
Some Tips
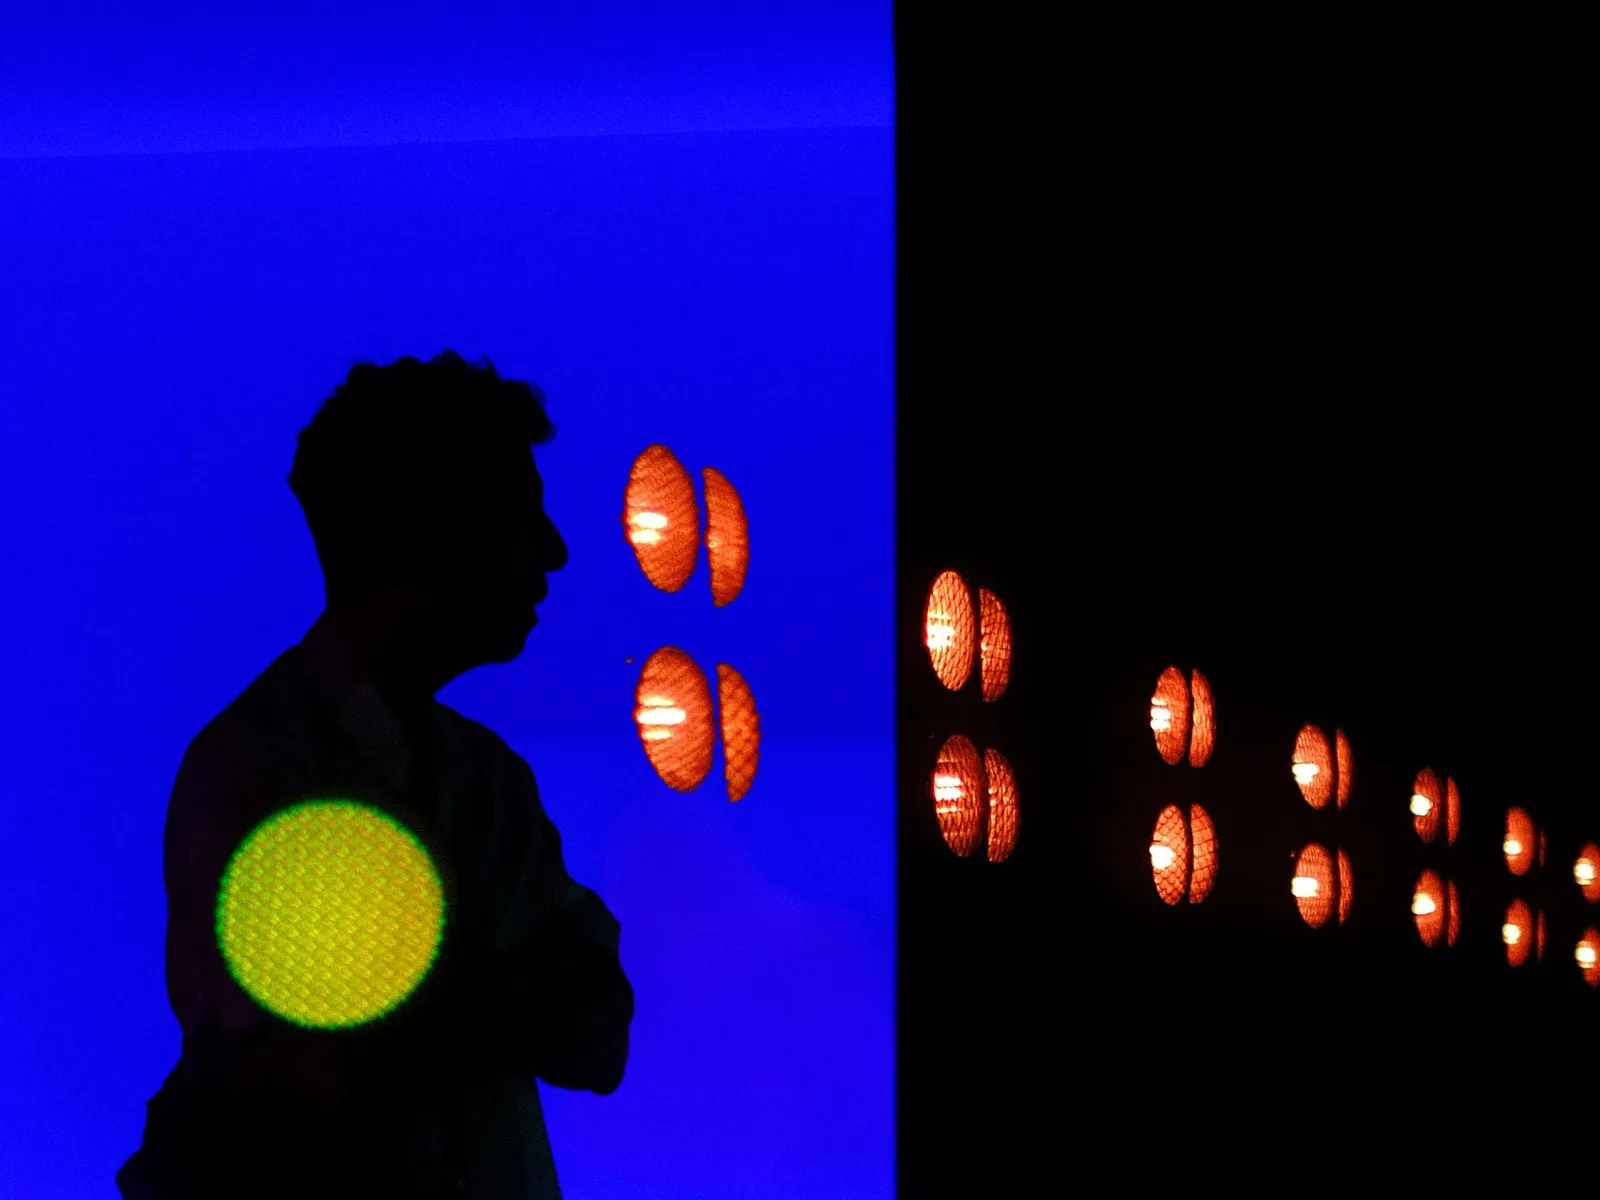
You need contrast to make this work. If you overlap two busy scenes, you just get visual chaos. You should mix opposing elements. Combine an image with a lot of negative space like a clear sky or a plain wall with a highly textured image like a forest, brickwork, or rippling water.
Multiple exposures work incredibly well for abstract street photography and portraits. You can show two different sides of the same person or visually link someone to their environment.
Do not expect every shot to be a masterpiece. It's a real trials and erros learning path, with eight out of ten attempts that will probably look terrible. You do this for the two incredible images that actually work out. You have to accept the failure rate.
My step-by-step workflow
Here is my exact process when I am out shooting.
- Turn on the mode throught the Drive button and select Multiple Exposure.
- Set the blending mode. On my X-T30 II or X-E5, I often pick bright at nigh or for nice silhouette compositions. I also love the dark blending mode to create some surreal composition (think inception inspiration visuals).
- Take the first shot. I capture the base structure first. This is usually a silhouette or a strong geometric shape.
- Align the second shot. I look through the EVF and use the ghost overlay to place the texture. I might line up some further city lights out of focus to create some creative layers of bokeh.
- Validate and iterate. The screen shows the final result. I can press a button to accept it, cancel it entirely, or just retry the second shot if the alignment was wrong.
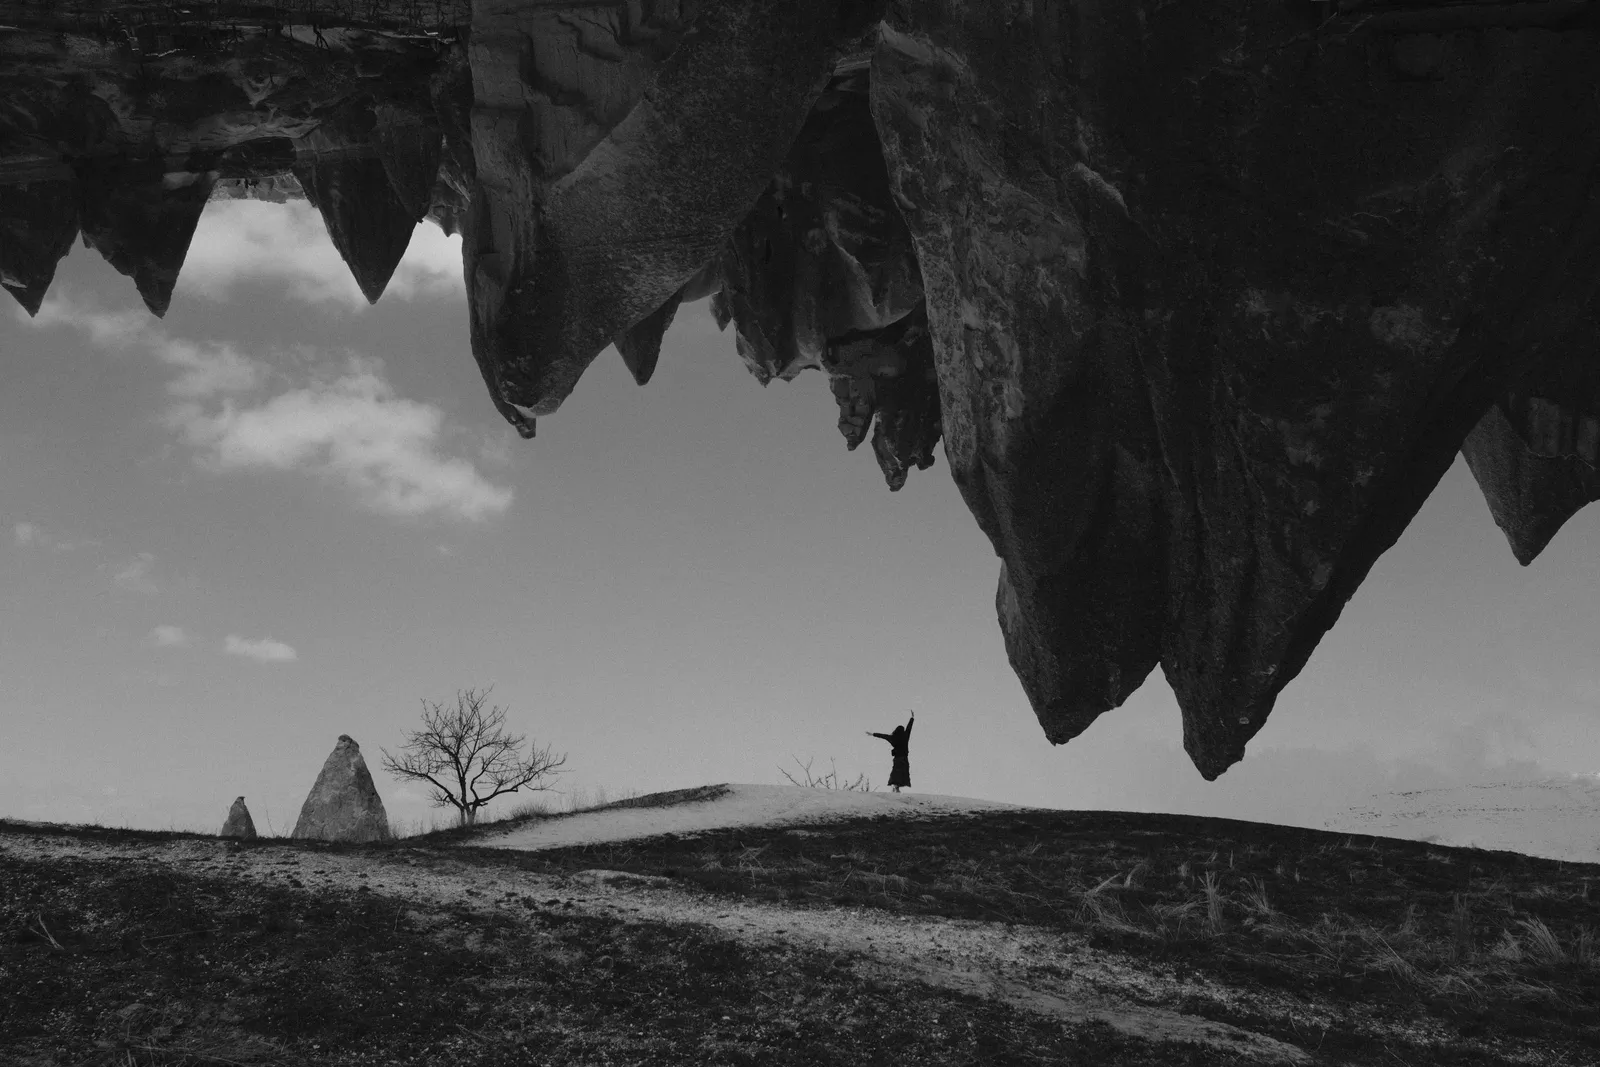
- Don't be afraid to be creative. I often switch the white balance shift from one corner to the other between the layers. I also often tunr the camera upside down until I find an interesting angle. The possibilities are endless.
I love the direct, finished look of in-camera double exposures. It is a lot of fun, and a great way to push your creativity to new levels.
Help me keep writing
If these articles are useful to you, have a look at what I make.
Creator Pro
The ultimate DaVinci Resolve workspace for creators
View plugin — €29.00
VHS Nostalgia
Real VHS & CRT emulation for DaVinci Resolve
View plugin — €39.00
Caption Pro
Automatic word-by-word captions and translation for DaVinci Resolve
View plugin — €29.00
Get the zine
"Absorbed by the algorithm Vol. 1": 33 images shot in Paris, 28 pages, shipped worldwide.