My Favorite Fujifilm Recipes in 2026
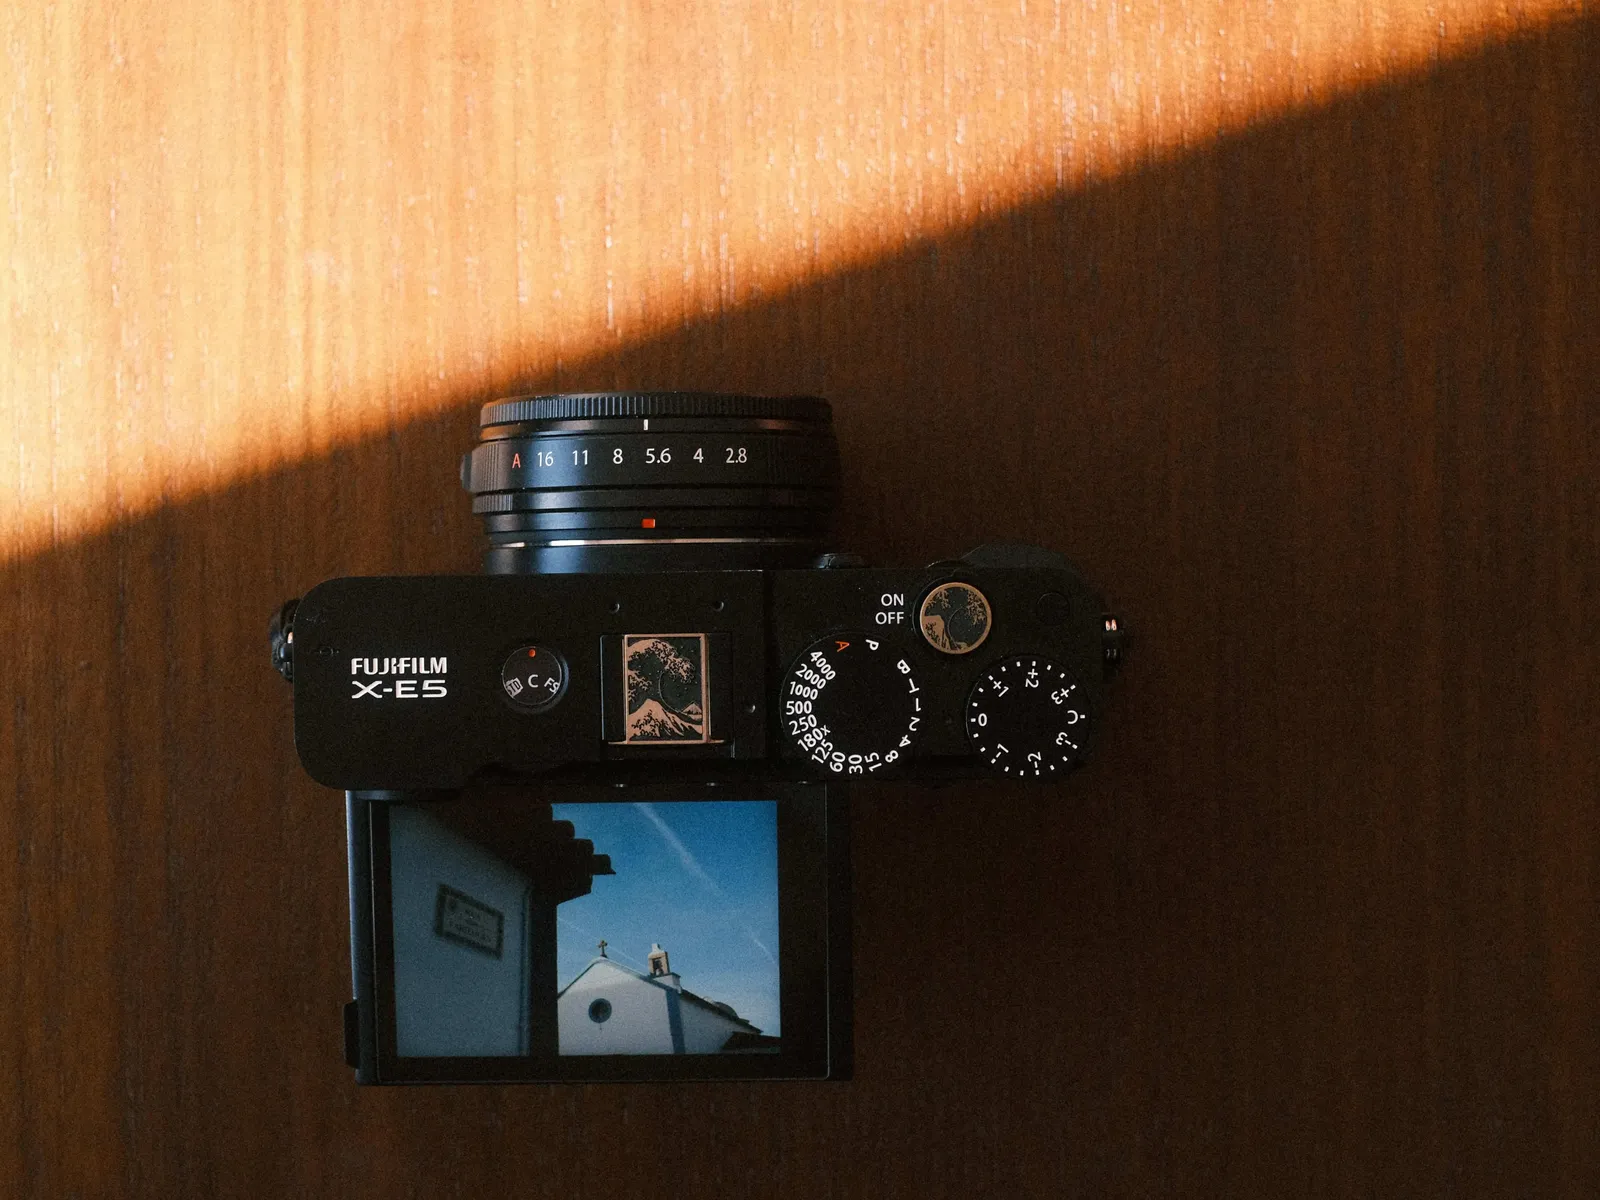
If you shoot with a Fujifilm camera, you've probably heard people talk about "recipes." But if you're just getting started, you might be wondering what that actually means. In short, a recipe is a combination of in-camera JPEG settings (film simulation, white balance, grain, contrast, color, sharpness, and more) that you save as a custom preset. Once loaded into your camera, it gives your photos or videos a specific look straight out of camera. No editing and no Lightroom needed afterward. You shoot, and the image is done.
The Fujifilm community is full of photographers building and publishing their own recipes. Trying other people's recipes is one of the best ways to explore different styles and discover what you like.
I've used Fujifilm recipes for more than 10 years now. Three recipes have earned a permanent spot in my X-E5 custom settings for 2026. Two are mine, one comes from the community.
Grain Noir: bold black and white
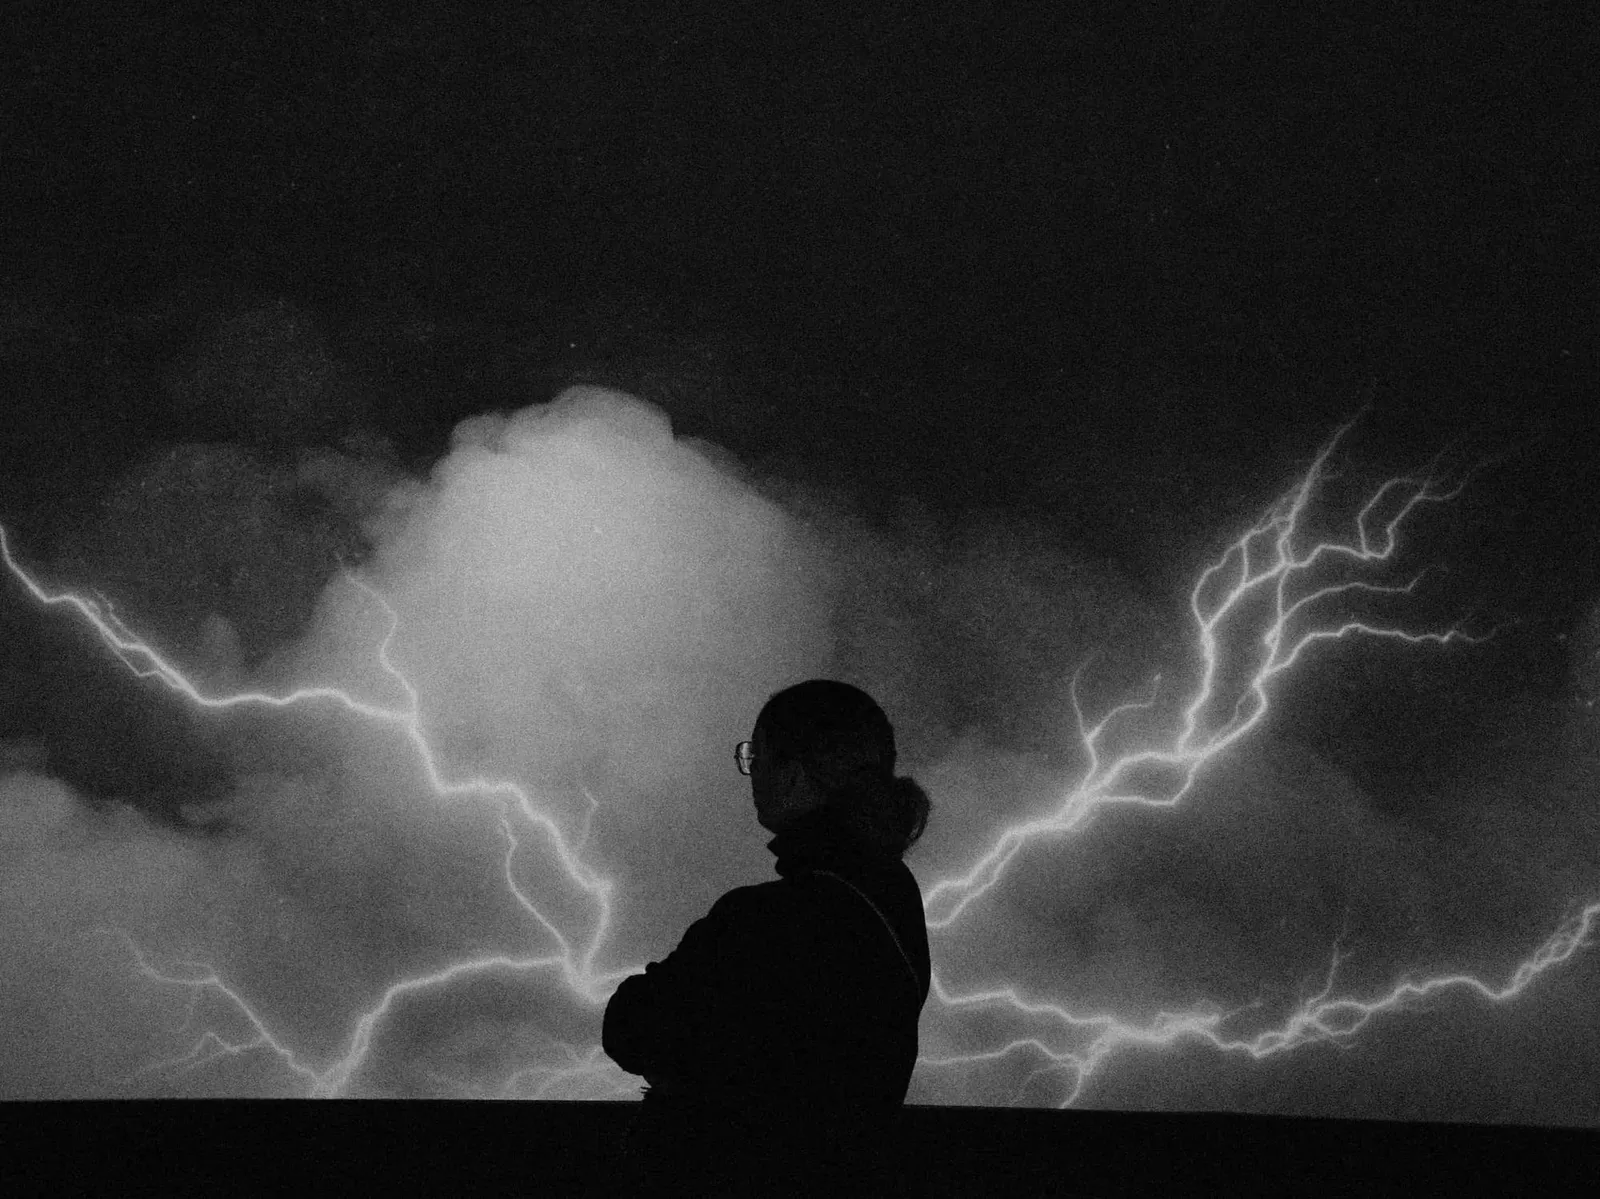
Grain Noir is my personal monochrome recipe, and it's the one I reach for whenever I want black and white images with real character. It goes hard on contrast, texture, and visible grain, so the images come out raw and alive, like they were pulled from a roll of pushed film.
The recipe is built on ACROS with the Yellow filter. This isn't a physical filter you screw onto your lens. It's a setting inside Fujifilm's Film Simulation system, layered on top of the ACROS simulation (you can choose between Standard, Yellow, Green, and Red). The idea comes from analog photography, where shooting black and white through a colored filter was standard practice to control contrast and tonal response. The Yellow filter is the subtlest of the four options. It darkens skies, absorbs shorter wavelengths like green, and increases contrast where tones sit close together: flowers against foliage, a face against a shaded wall. ACROS itself was introduced as a Film Simulation in 2016, modeled after the analog ACROS film known for its grain quality and deep tones. The simulation uses sensor noise to create variations in grain depending on brightness, which adds texture to smooth or gray areas. Paired with the Yellow filter, you get strong blacks, soft grays, and a sense of three-dimensionality that flat monochrome conversions don't produce.
The grain is set to Strong / Small on purpose. It adds a fine but pronounced texture that gives every frame an organic, analog quality. If you've ever shot Tri-X or HP5, you'll feel right at home.

When to use it
Grain Noir thrives in high-contrast situations. Street photography with harsh sunlight, backlit silhouettes, architectural details, dark interiors with a single light source. It also works beautifully in museums, cafes, and anywhere dramatic shadows meet strong shapes.
View more photos taken with my Grain Noir recipe in my black and white portfolio page here.
A tip: try slowing your shutter speed down to 1/30s or even 1/15s when the scene allows it. The combination of motion blur and heavy grain creates a raw, cinematic feel that really makes this recipe shine.
Where it doesn't work as well: flat, overcast lighting with no contrast, or soft portraits where you want smooth skin tones. Grain Noir doesn't do gentle.
Classic Cinema: my go-to video recipe
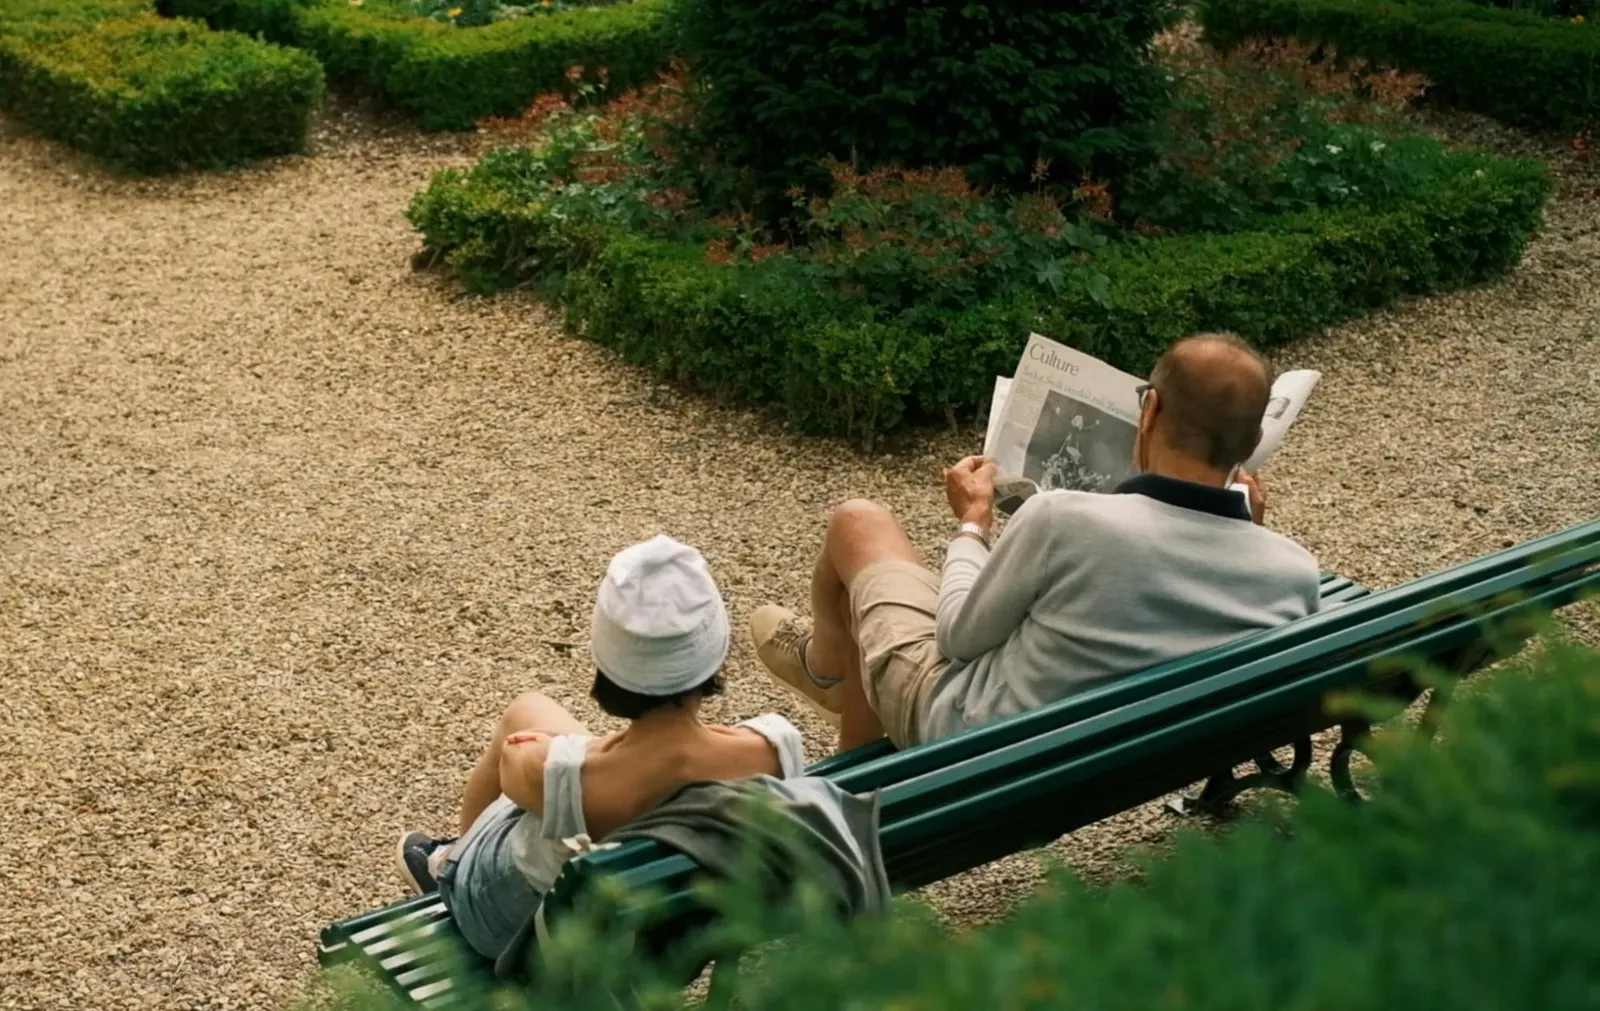
Classic Cinema is the only recipe I load when I switch to video mode. It was designed from the start for motion, and it gives a documentary-style look with no color grading needed.
The foundation is Classic Negative, which provides a subtle color response and soft contrast that translates naturally to moving footage. Unlike stills where you might want more punch, video benefits from a gentler profile that preserves detail while still looking beautiful. The Details setting at -2 is what makes it work. Modern digital sensors are incredibly sharp, and that sharpness can feel harsh on video. Pulling it back softens the image just enough to mimic the organic rendering of analog film stock.
The white balance shift (+3 Red, -6 Blue) gives skin tones a warm, natural quality, and the ISO range is intentionally kept tight (200 to 640) to ensure clean footage.
When to use it
Classic Cinema is perfect for travel vlogs, street footage, B-roll in natural light, and casual family videos. Basically anything where you want a filmic, consistent look without opening an editing app afterward.
Optional but recommended: pair it with a 1/4 Black Pro Mist filter. It softens digital harshness even further and adds a subtle glow to the highlights.
Avoid it in very low light (beyond ISO 640), green screen work, or projects that require heavy color grading flexibility.
Cinematic Gold: a community favorite
Created by: Grischa
I discovered Cinematic Gold while browsing the Fujifilm community, and it quickly became one of my most-used recipe for color photography.
Built on Classic Negative, this recipe pushes the white balance toward warm tones with a strong red shift (+4 Red, -5 Blue) that gives every image a golden quality. The grain (Strong / Small) adds texture without being distracting, and the DR400 setting provides a wide exposure latitude that helps preserve highlights in tricky lighting.
It is also unusually versatile. Portraits, street photography, golden hour landscapes and casual everyday shots all come out with the same warm, consistent character. The Color at +3 adds just enough saturation to feel rich without going overboard, while the Sharpness at -2 and Clarity at -2 keep the rendering soft and organic.
When to use it
Cinematic Gold is at its best in warm, natural light. Golden hour, late afternoon sun, soft window light. It gives ordinary street scenes a cinematic cast.
One thing to watch out for: in cold light or under artificial lighting, the strong red shift can make things look too warm. In those situations, dial back the exposure compensation or switch to a different recipe.

Final thoughts
Three recipes, three use cases, and no post-processing at all, which is what you get out of the Fujifilm system once you take the time to set up your custom presets in the Q-menu. Grain Noir handles my black and white work, Classic Cinema takes care of all my video projects, and Cinematic Gold brings that warm, filmic quality whenever the light calls for it.
If you're new to recipes, load these into your camera, go out, and forget about the menu for a few hours. Most of my better frames come from the outings where I stopped fiddling with settings early.
You can see more Fujifilm recipes here.
Tested on Fujifilm X-Trans IV and V bodies. Some settings may not be available on older models. Feel free to adjust anything to match your taste. Treat a recipe as a starting point.
Help me keep writing
If these articles are useful to you, have a look at what I make.

Creator Pro
The ultimate DaVinci Resolve workspace for creators
View plugin — €29.00
VHS Nostalgia
Real VHS & CRT emulation for DaVinci Resolve
View plugin — €39.00
Caption Pro
Automatic word-by-word captions and translation for DaVinci Resolve
View plugin — €29.00
Get the zine
"Absorbed by the algorithm Vol. 1": 33 images shot in Paris, 28 pages, shipped worldwide.