Bringing the Film Glow to Digital: My First Tests with Halation Lab
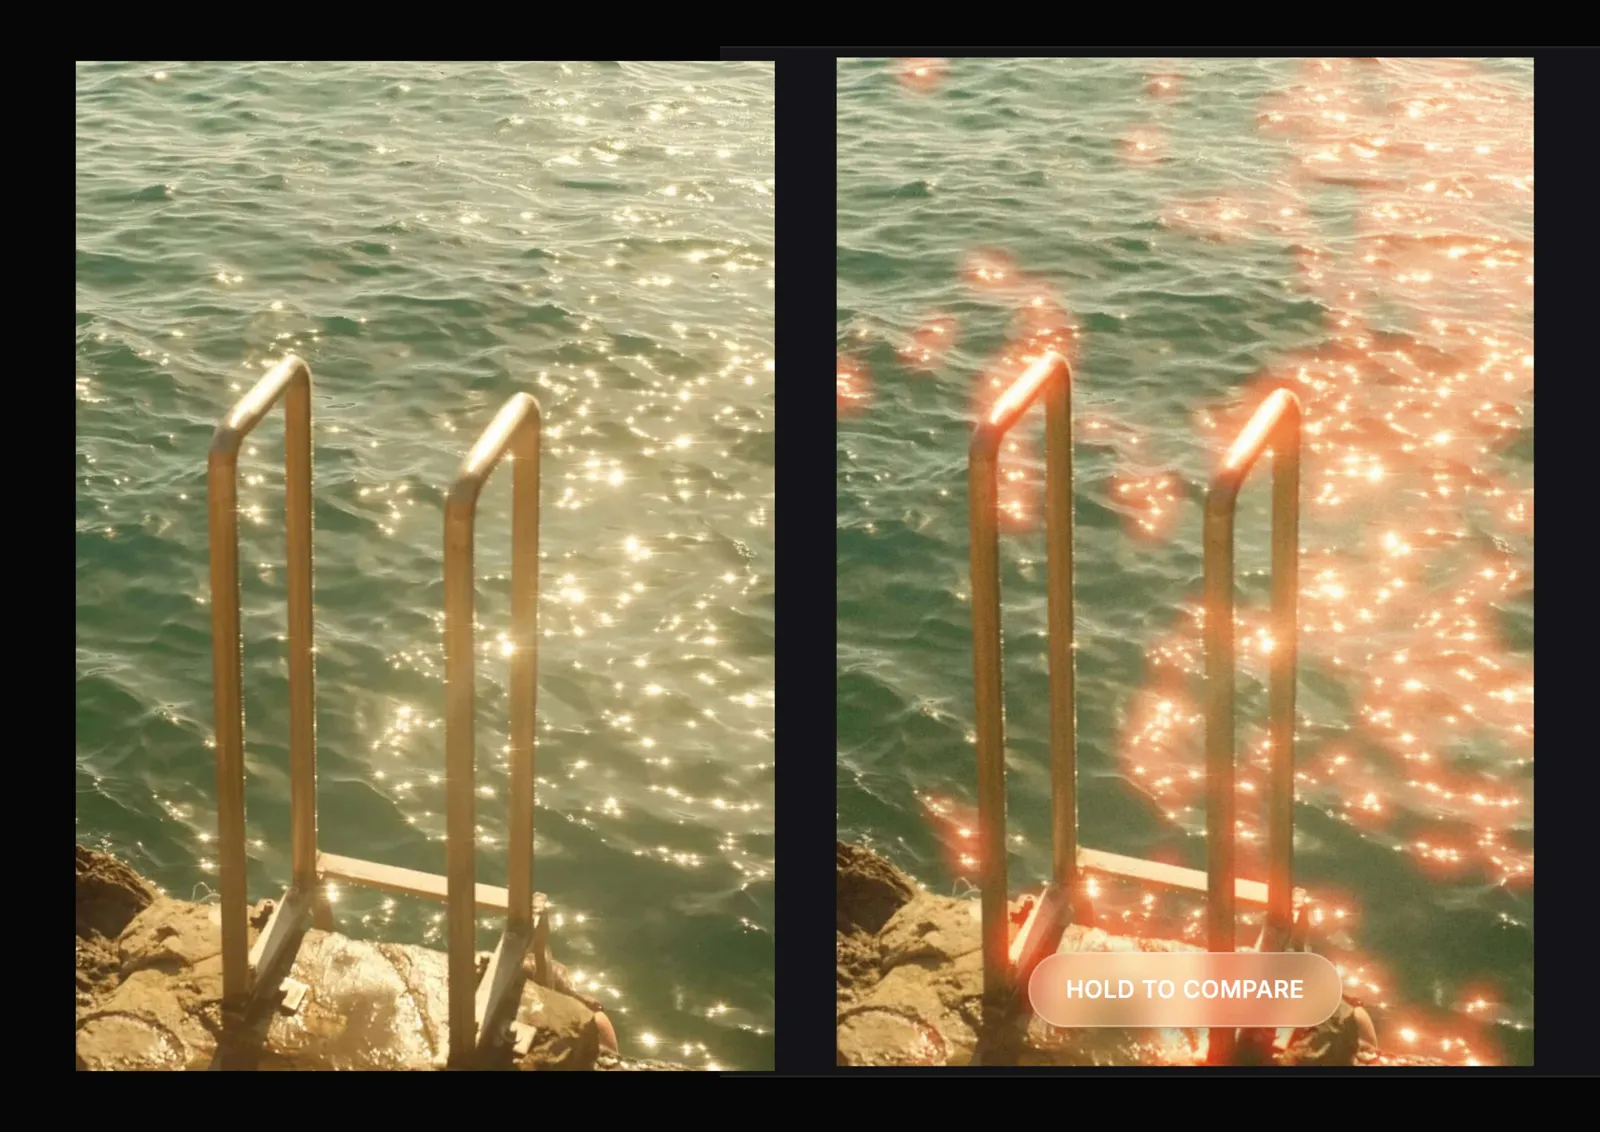
I don't shoot film. I love the convenience of digital, the instant feedback, and the flexibility. But every time I scroll through Instagram and see shots from friends shooting CineStill 800T or equivalent, I almost fall in love at every frame.
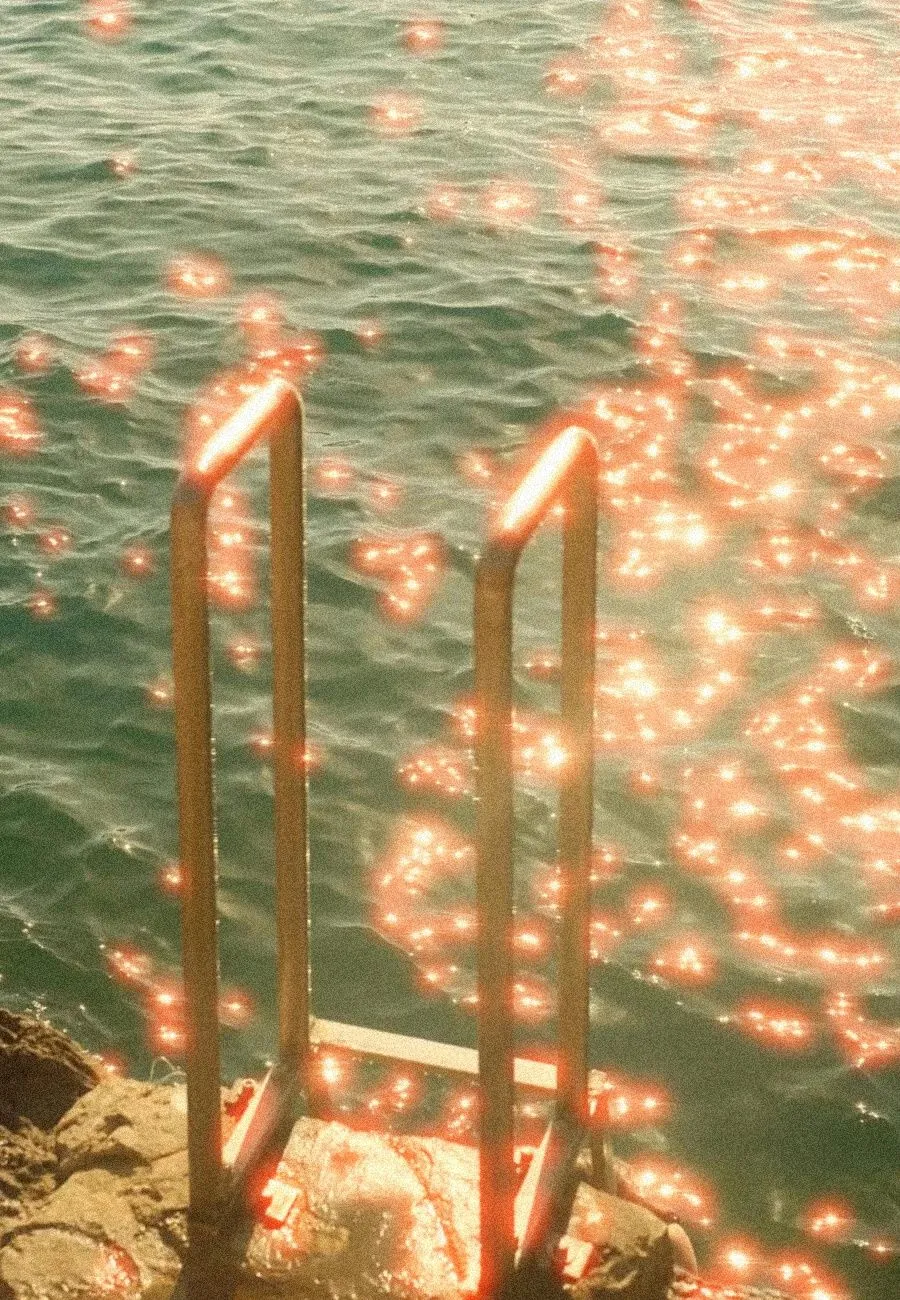
There is something beautiful about how light hits physical film emulsion, specifically that bleeding red glow around bright highlights known as halation. It can turn a standard Berlin night street photo into a cinematic dream. If you want the mechanism behind it, I covered what halation is and why CineStill 800T shows so much of it separately.
For a long time, I tried to replicate this "soul" in my digital edits. But the options were frustrating: either drop $100+ on premium plugins like Dehancer, or spend hours wrestling with complex nodes in DaVinci Resolve or Photoshop layers.
I wanted a shortcut. Something free, fast, and accessible to anyone. So, I decided to build it myself: Halation Lab.
What is Halation Lab?
Halation Lab is a free browser-based simulator I developed to recreate that filmic bloom without the price tag. I built it using Rust and WebAssembly (WASM), which means it's incredibly fast and, most importantly, privacy-first. Your photos never leave your computer; the processing happens entirely in your browser.
The controls
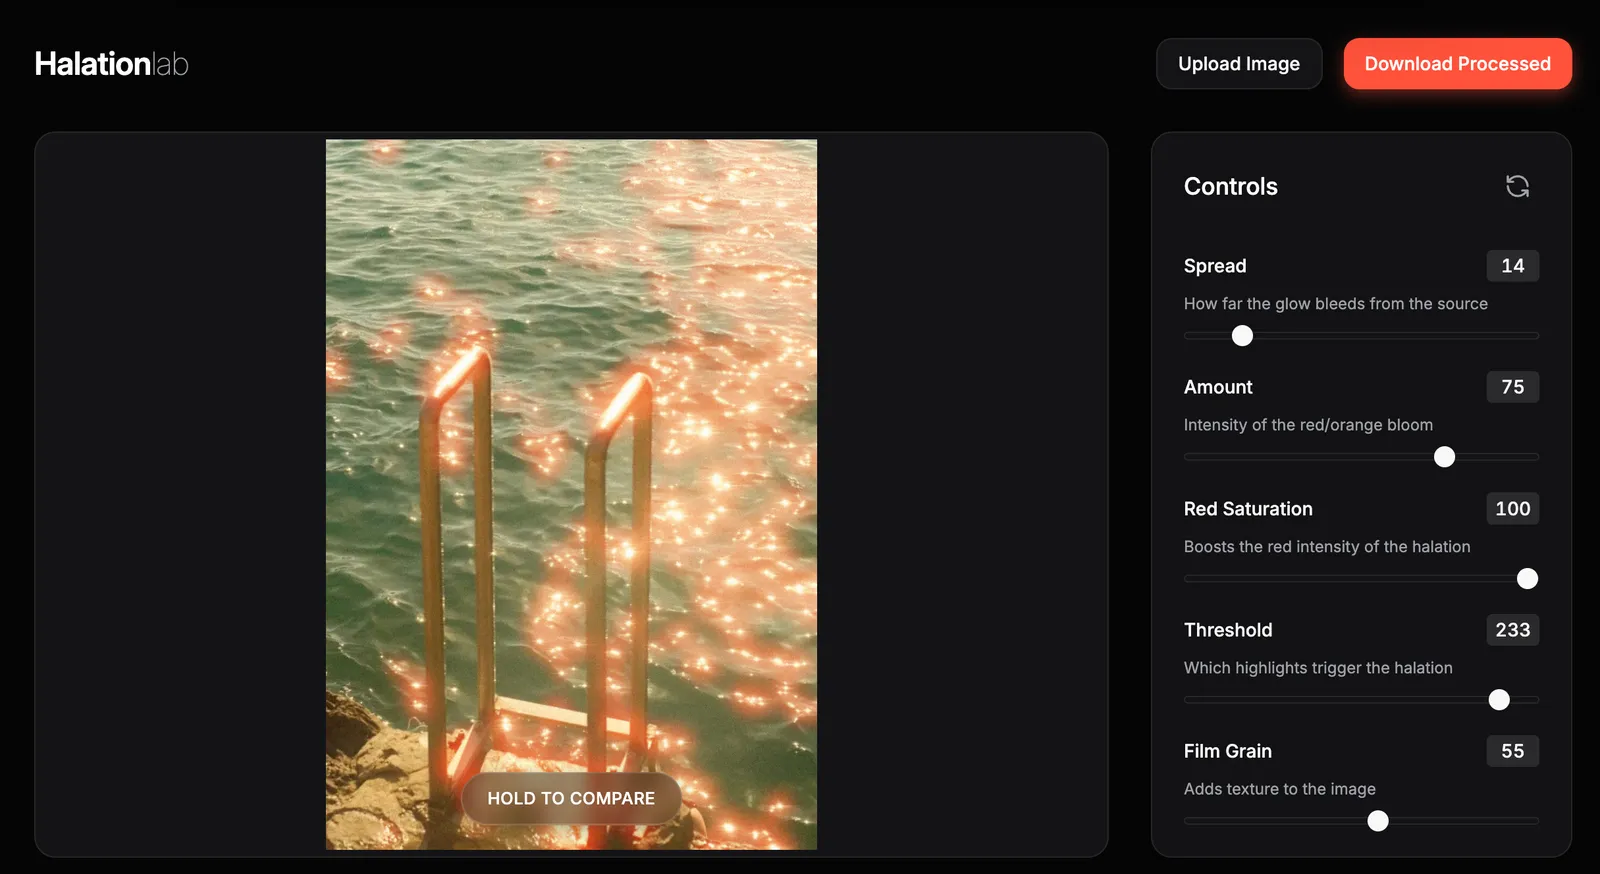
During my initial testing, I wanted to make sure I had enough control to match different film stocks. Here is the toolkit I've been playing with:
- Spread: Controls how far the red light "bleeds" from the source.
- Amount: The overall intensity of the bloom.
- Red Saturation: Cranking the reds or keeping them subtle.
- Threshold: This dictates which highlights trigger the effect. You can target just the brightest bulbs or let the glow seep into the mid-tones.
- Film Grain: Because halation feels lonely without a little texture.
The results
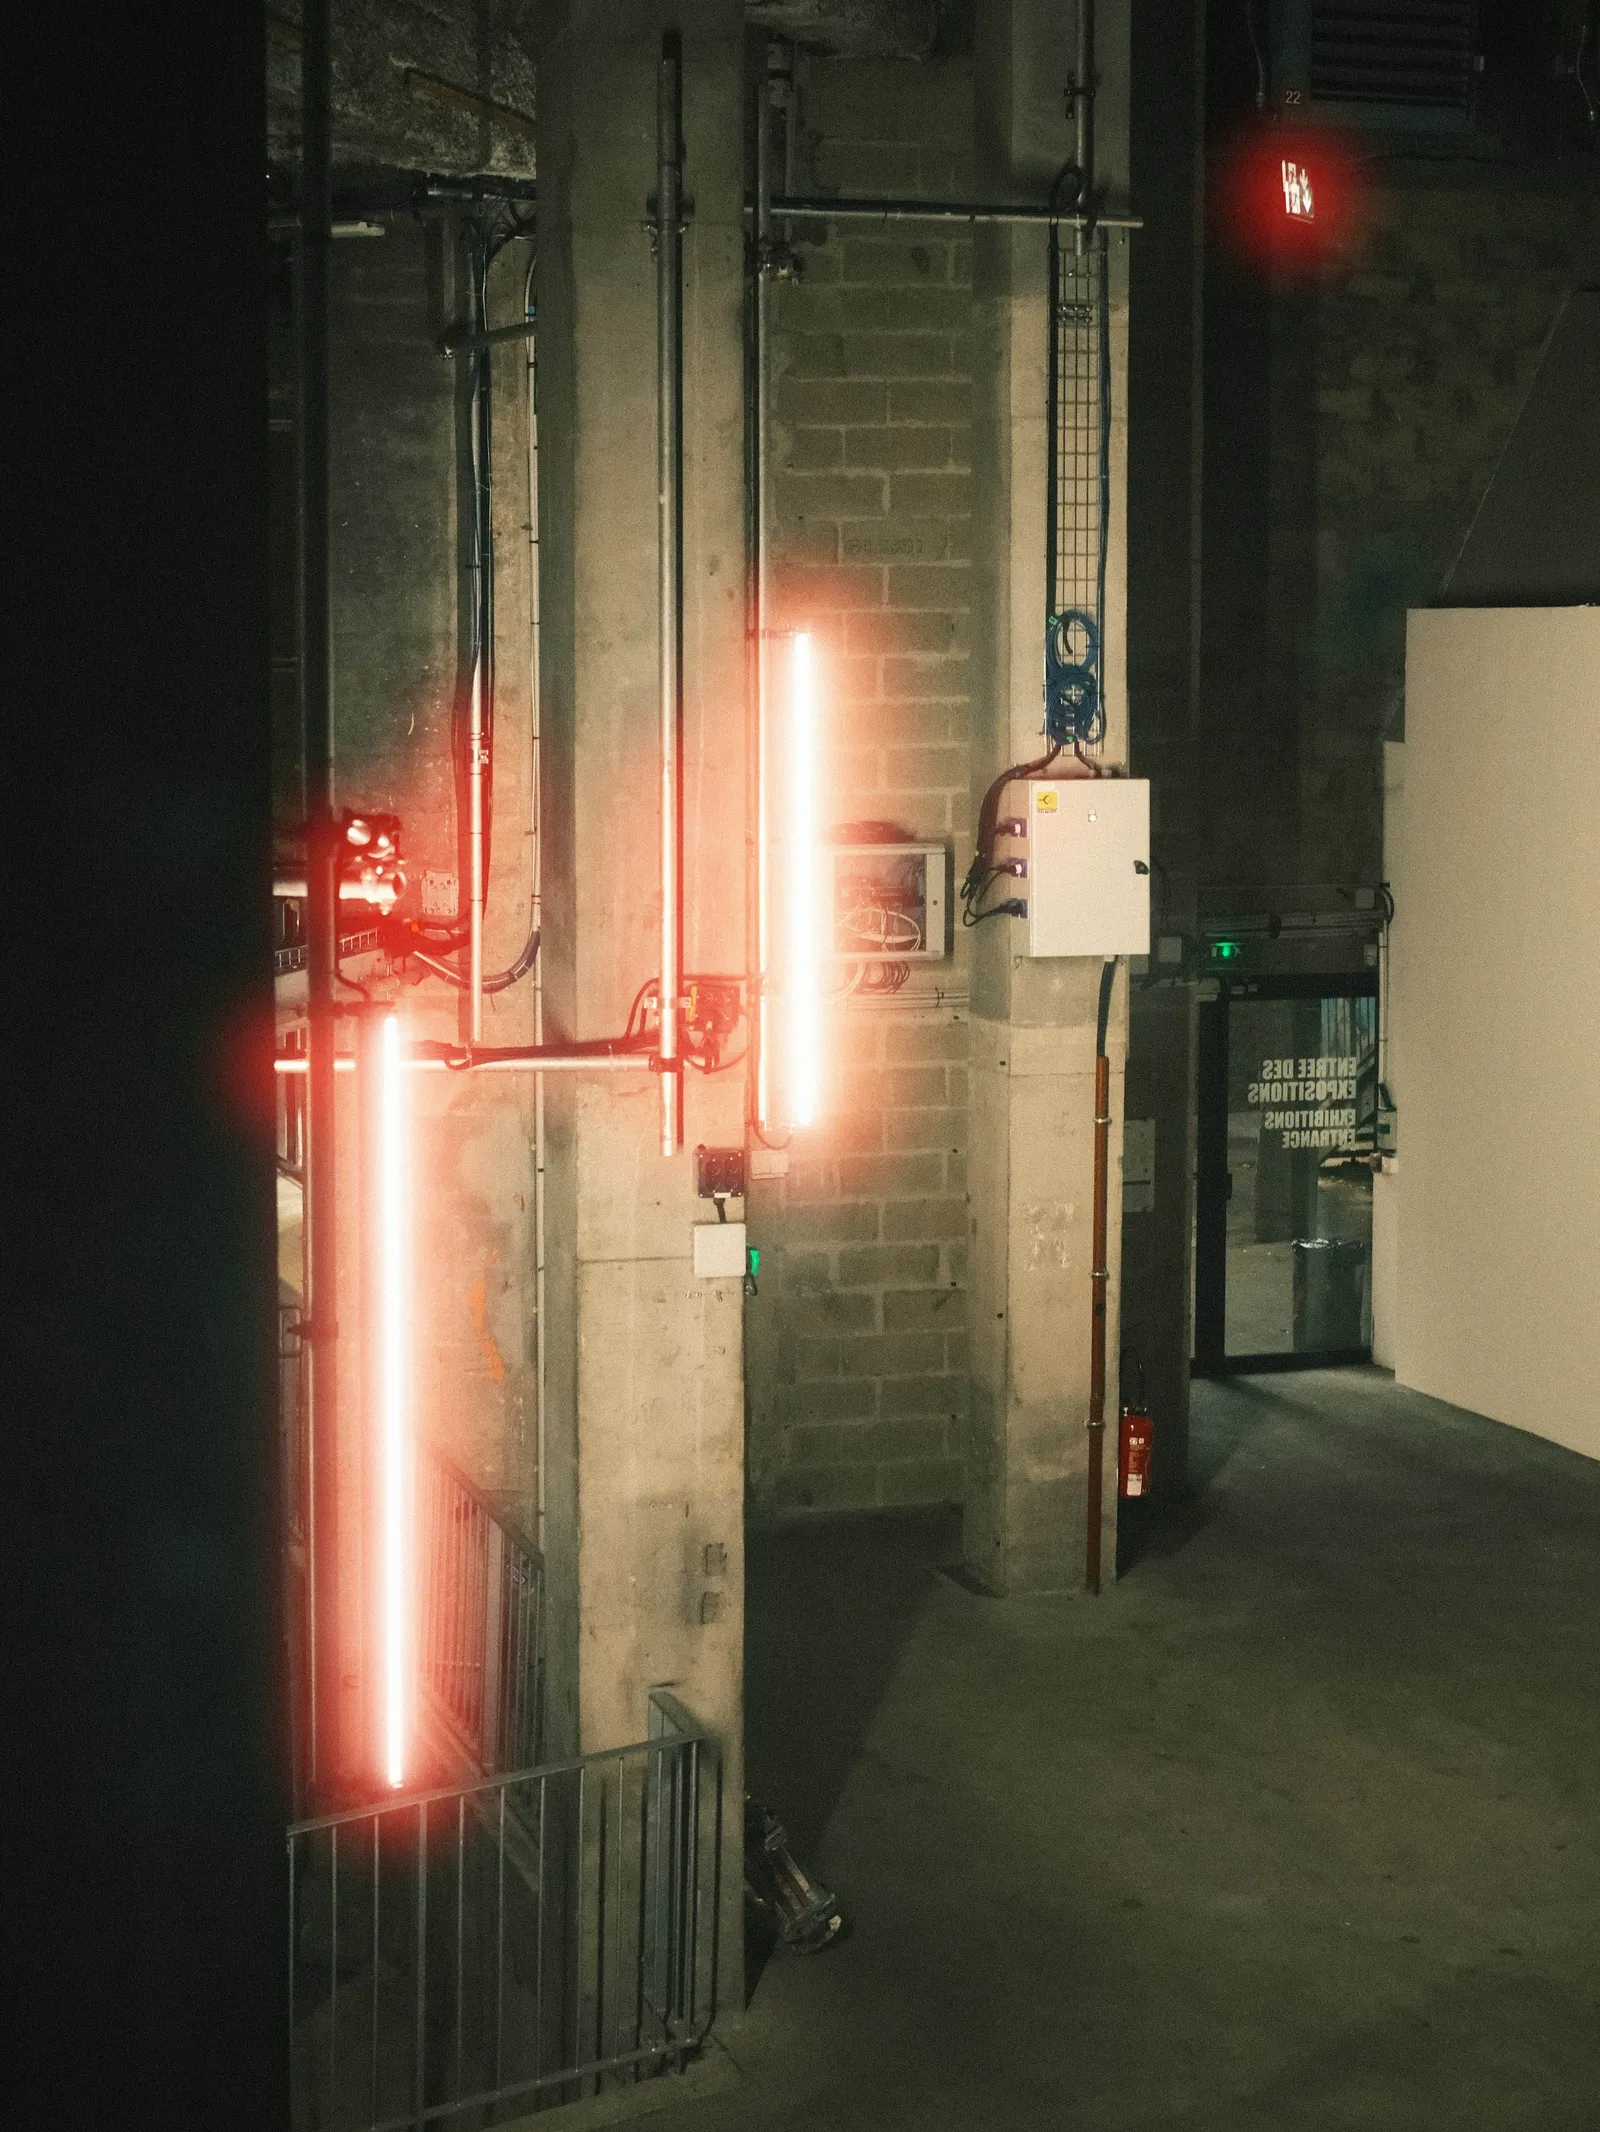
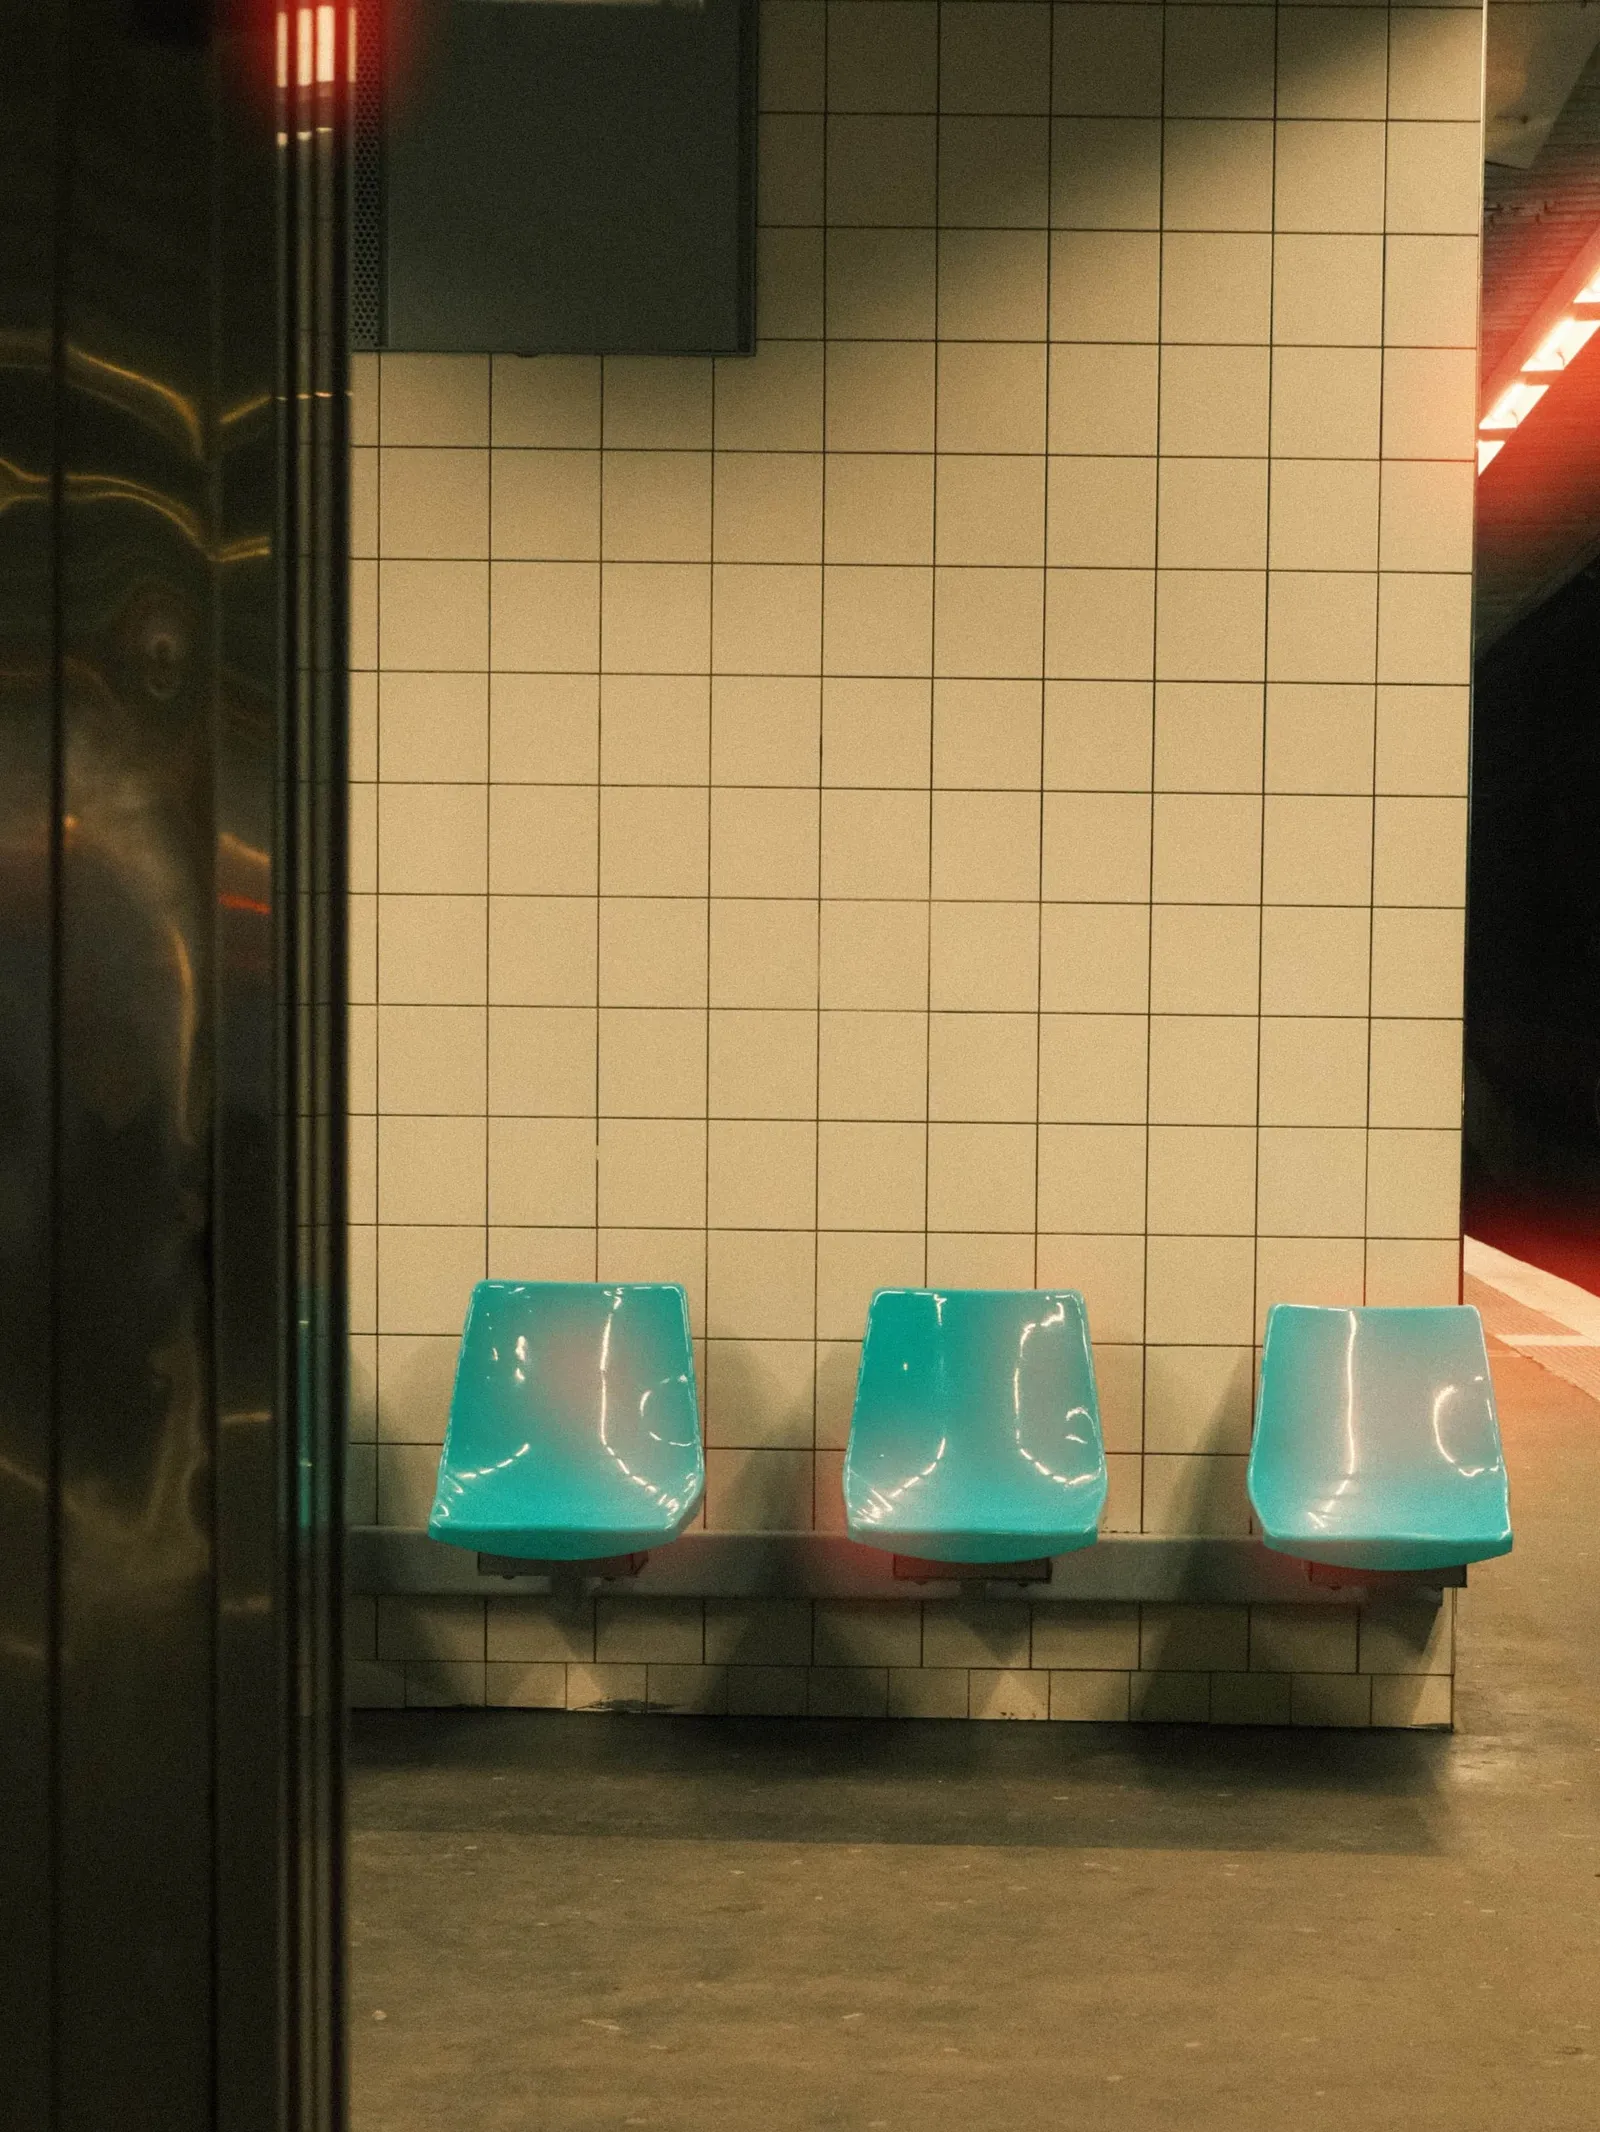
In my first few tests, I focused on high-contrast night shots. By pushing the Threshold to around 200, I was able to isolate the street lamps and neon signs.
- The CineStill Look: By increasing the Spread and Red Saturation, I managed to get that classic 800T "halo" around bright white lights.
- Subtle Vintage Bloom: On daylight scenes, lowering the Amount and increasing the Spread creates a dreamy, "glowy" reminiscent of older vintage lenses and film stocks.
Why I made it free
The photography community has given me so much inspiration, and I wanted to give something back. I don't believe you should need a monthly subscription to Adobe Creative Cloud just to experiment with a specific film aesthetic.
Whether you are trying to emulate Kodak Vision3 500T or just want to add some "vibe" to a digital file, Halation Lab is there for you to use. No accounts, no watermarks, just pure image processing.
Try it yourself!
I'd love to see what you create with it. You can try the tool right now at xere.my/halation-lab/.
I'm curious to hear your thoughts: Is the red bleed too strong? Is the UI intuitive? Let me know, and stay tuned for more tools coming soon to the lab.
Help me keep writing
If these articles are useful to you, have a look at what I make.
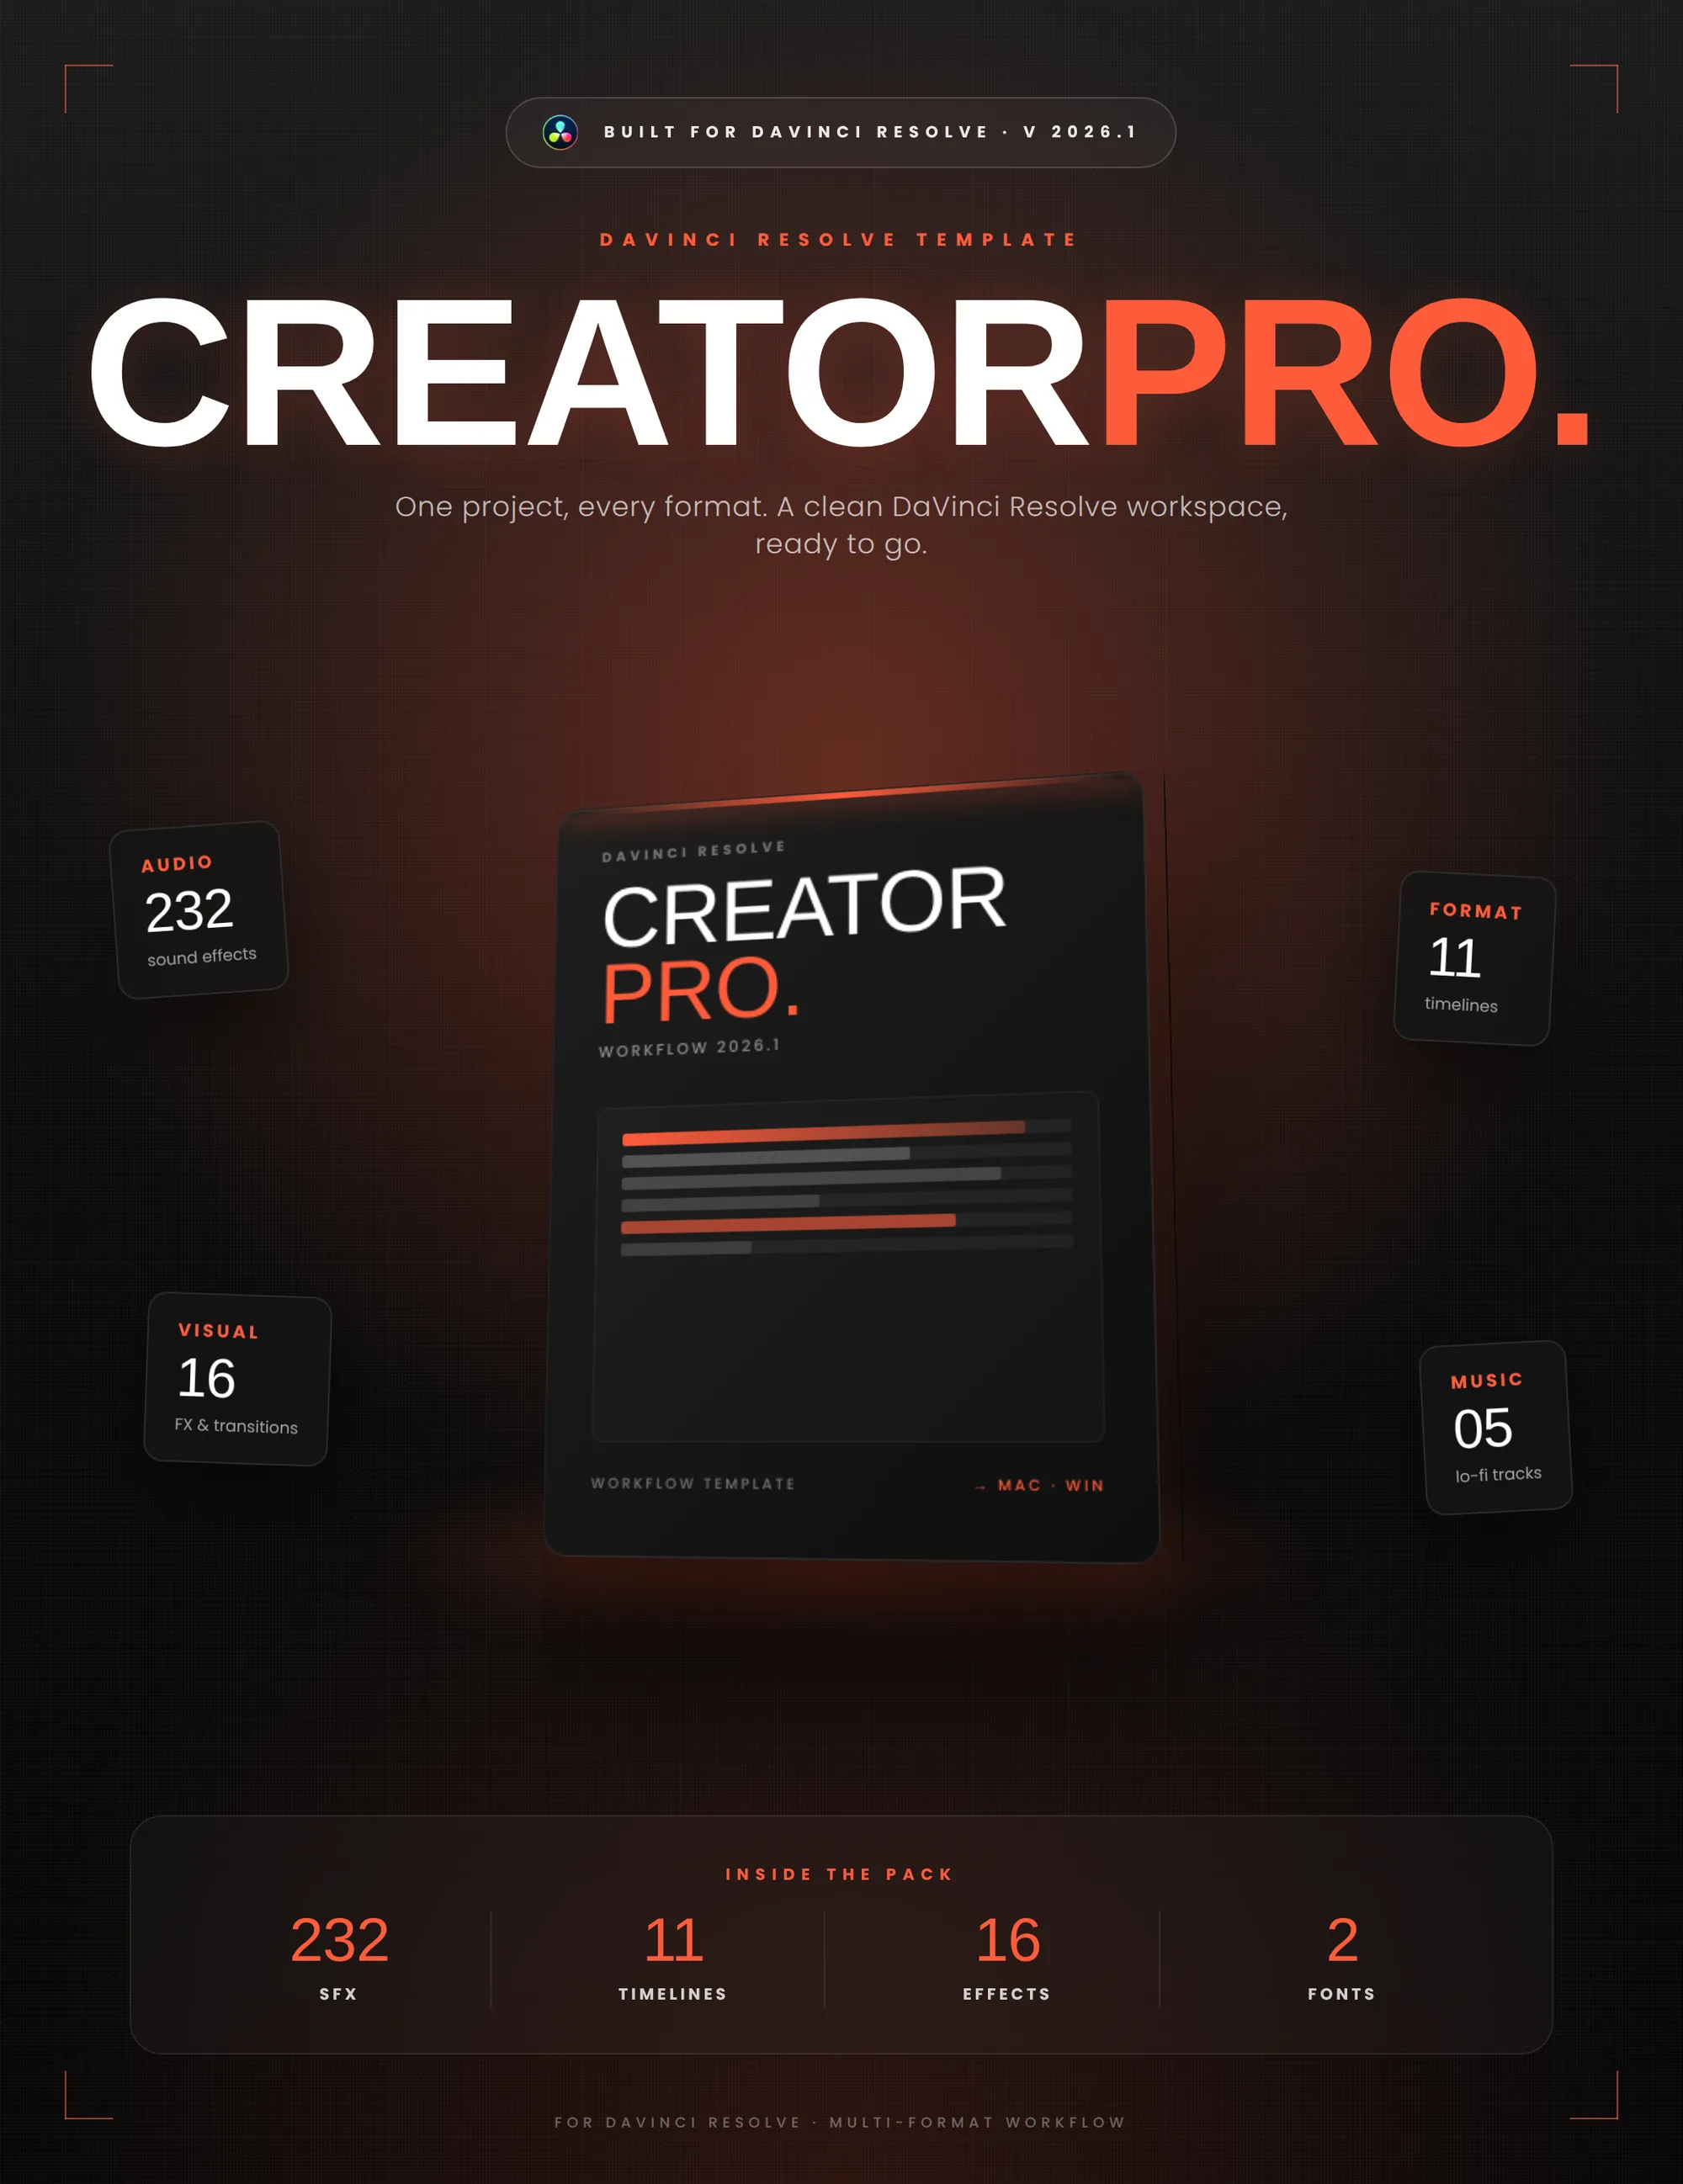
Creator Pro
The ultimate DaVinci Resolve workspace for creators
View plugin — €29.00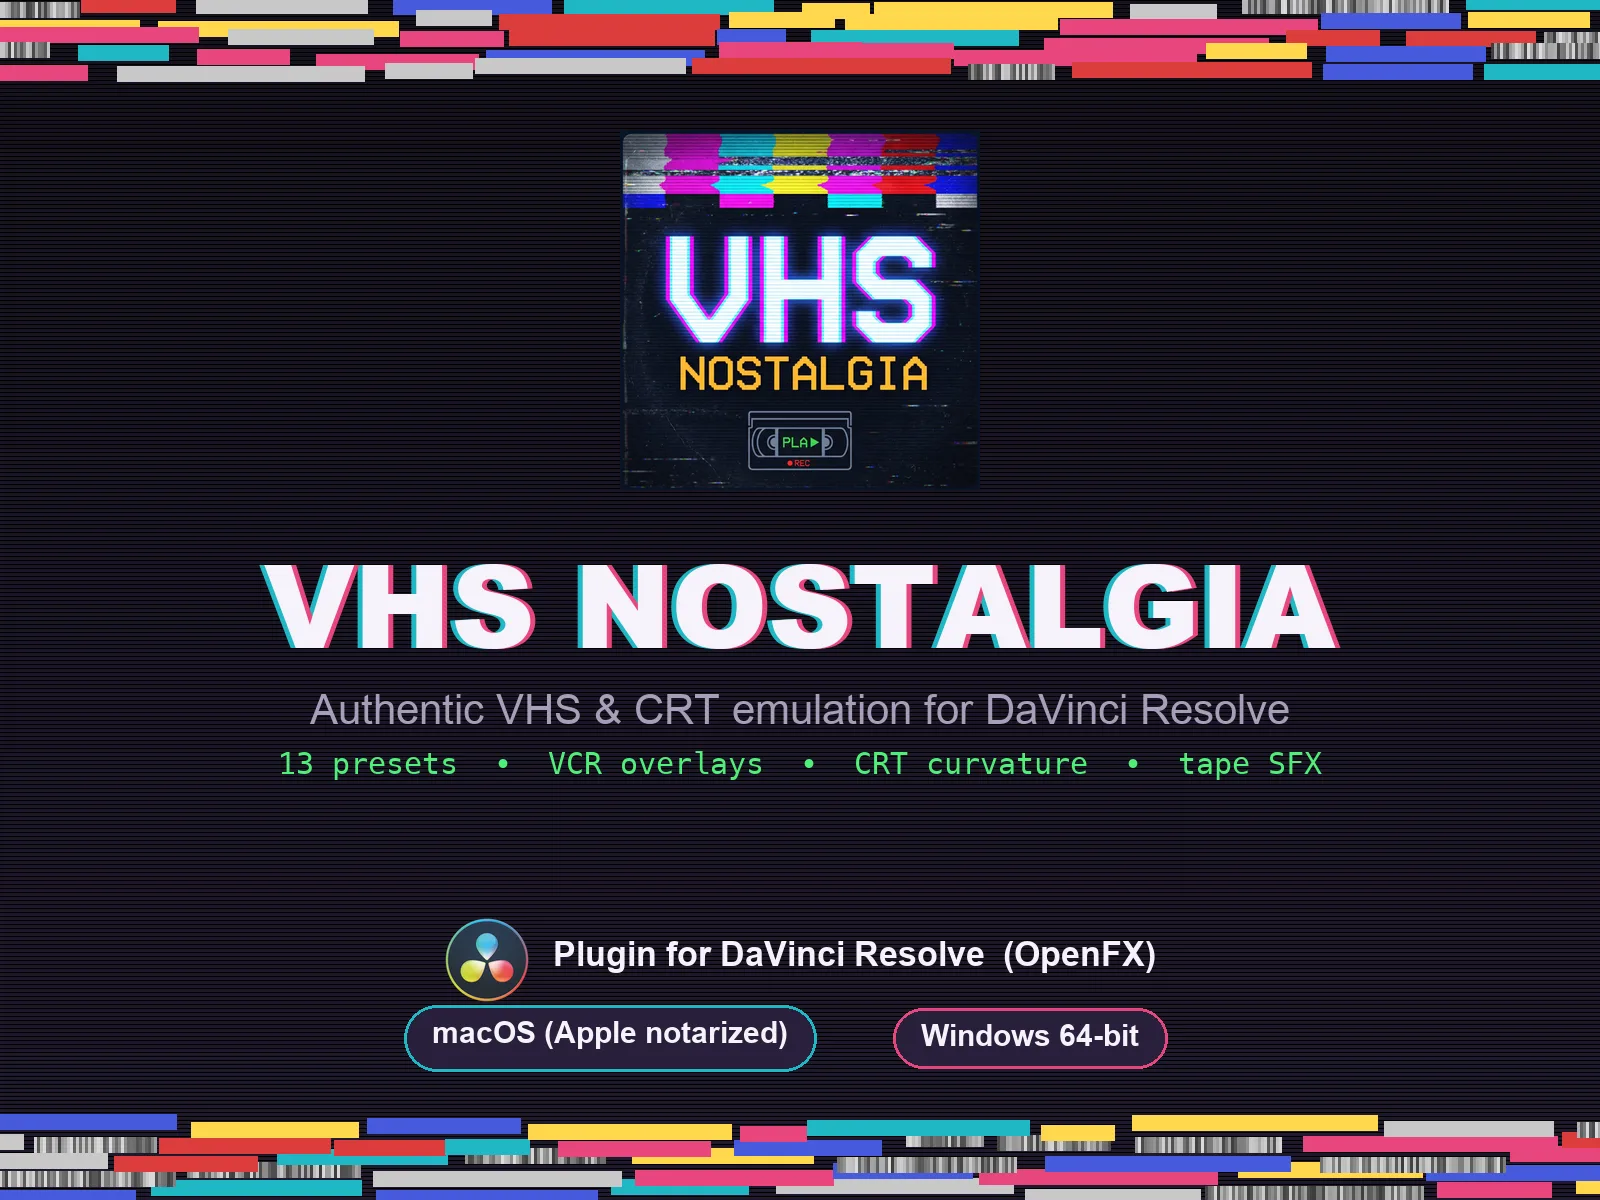
VHS Nostalgia
Real VHS & CRT emulation for DaVinci Resolve
View plugin — €39.00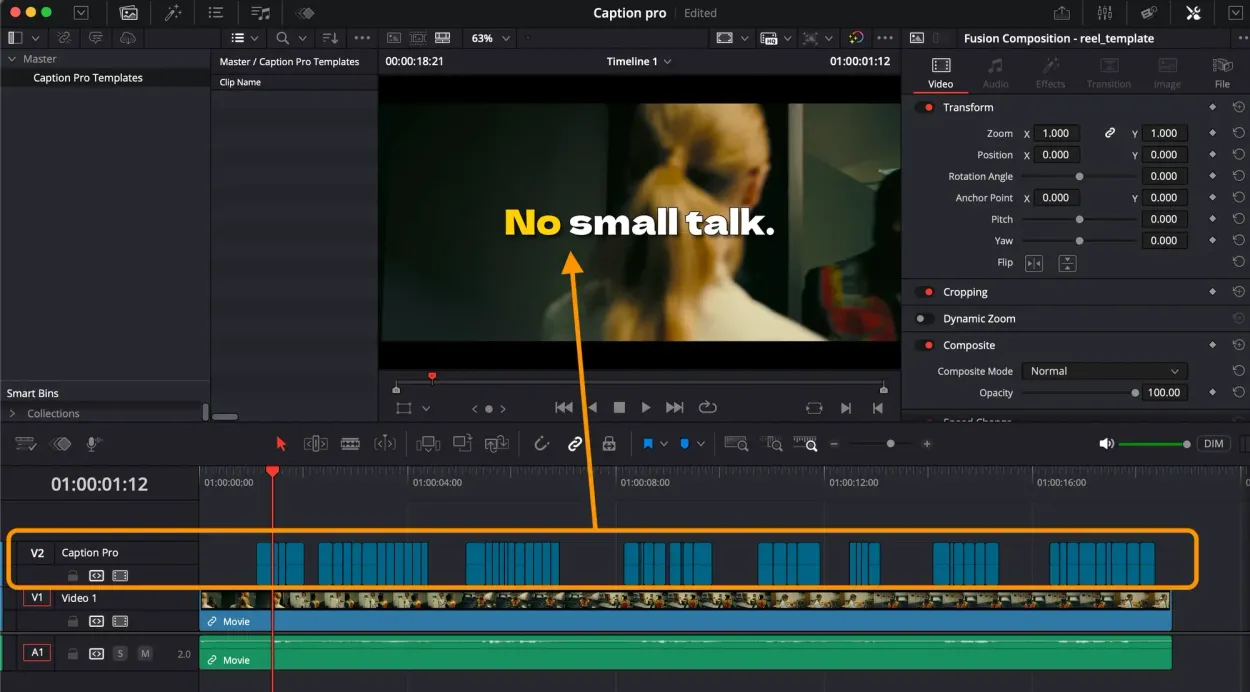
Caption Pro
Automatic word-by-word captions and translation for DaVinci Resolve
View plugin — €29.00
Get the zine
"Absorbed by the algorithm Vol. 1": 33 images shot in Paris, 28 pages, shipped worldwide.