intermediate 10 min transition invert flash color page keyframes
How to Create an Invert Flash Transition in DaVinci Resolve
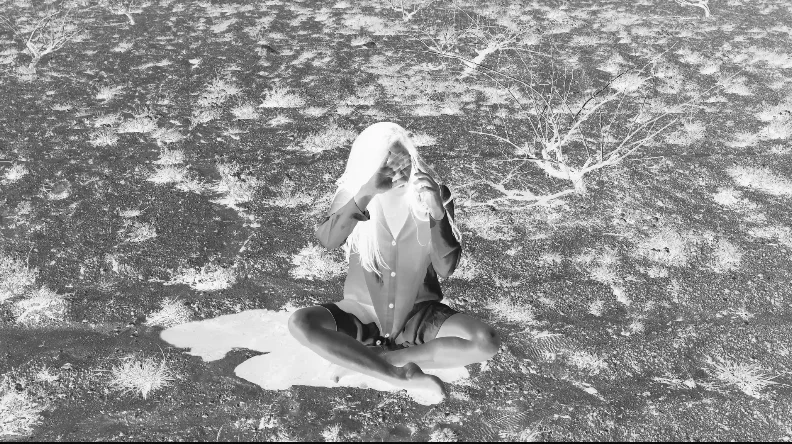
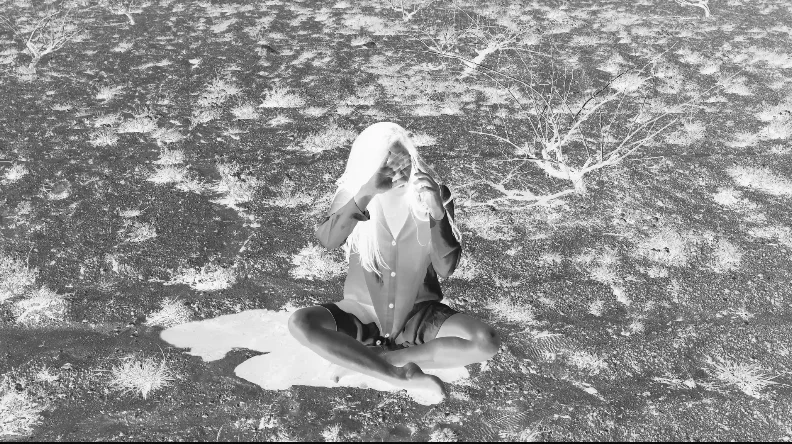
The invert flash transition is a punchy effect where the image briefly turns into a negative while a bright white flash hits the screen, right at the cut point. It is a staple of fast-paced edits, sports highlights, and action sequences. In this tutorial, you will build it natively inside DaVinci Resolve using keyframed color inversion and gain boost on the Color page. No plugins required. For a library of drag-and-drop transitions and effects, see the Creator Pro workspace.
Prerequisites
- •DaVinci Resolve 18 or later
- •Two clips with a hard cut between them
- •Basic familiarity with the Color page and keyframing
Steps
1
Isolate the flash frames on the timeline
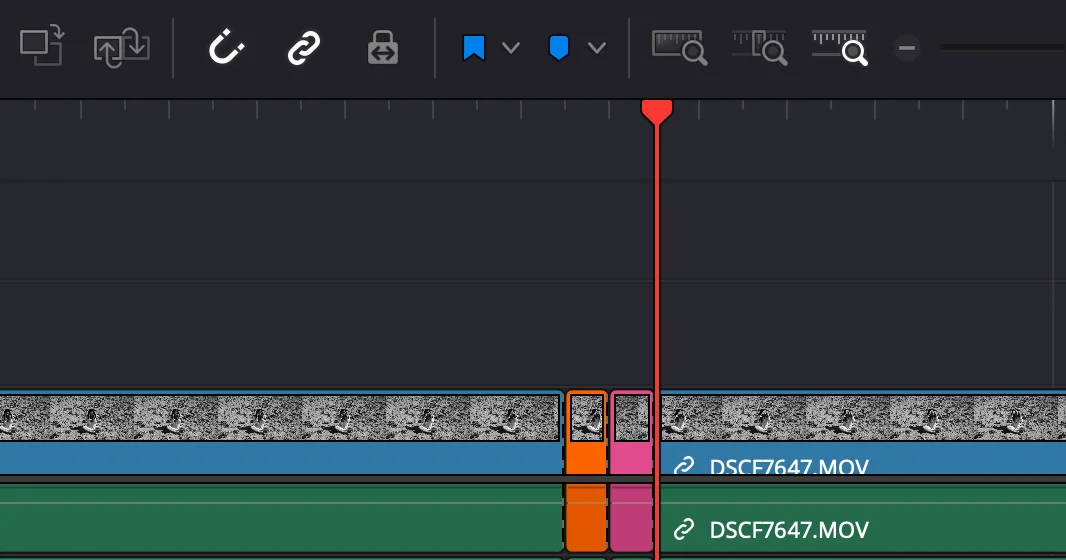
Place your two clips side by side with a hard cut between them. Select the outgoing clip (clip A) and move the playhead to the very end, 2 frames before the cut point. Press Ctrl+B (or Cmd+B on Mac) to make a razor cut. Then move forward exactly 2 frames and press Ctrl+B again. You now have a tiny 2-frame segment at the end of clip A. This micro-clip is where the invert flash will live.
2
Apply color inversion and boost brightness
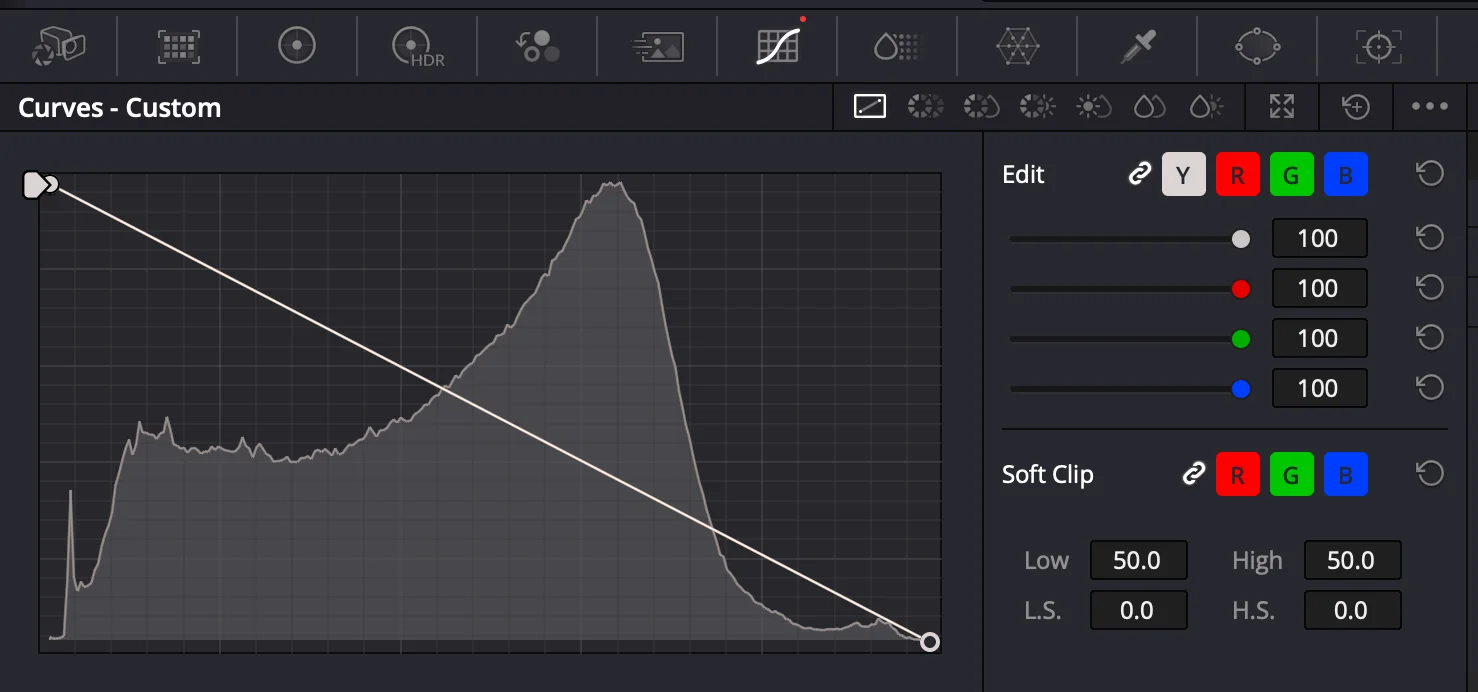
Select the 2-frame micro-clip and open the Color page. Add a Serial node after Node 01 (S node). In the new node, open the Color Wheels panel and drag the Gain master wheel all the way up, around 2 to 3 stops. Then go to the Curves panel and choose Hue vs. Hue or use the Custom Curves to invert the RGB channels by dragging the top-left point to the bottom-left and the bottom-right to the top-right. The image should now look like a high-contrast negative with blown-out highlights.
3
Add a white flash and refine the timing
Still on the Color page with the micro-clip selected, add another Serial node. In this node, raise both Offset and Gain to maximum to push the image into pure white for the first frame of the micro-clip. Then keyframe the Gain back down to 0 for the second frame, leaving only the inverted colors. This creates a one-frame white flash followed by a one-frame invert. Return to the Edit page, zoom in tight on the timeline, and watch the playback at full screen. If the flash feels too long, trim the micro-clip down to a single frame. If it feels too soft, push the Gain even higher in the white-flash node.
Conclusion
You now have a punchy invert flash transition. Save it for reuse by selecting the 2-frame micro-clip, right-clicking it, and choosing Create Compound Clip. Name it InvertFlash_2F and drag it into your Power Bin. Whenever you need the effect again, just drop the compound clip onto the end of any clip and adjust the length to taste.
Related DaVinci Resolve Plugins from the Store