How to use Fujifilm film simulations for cinematic video
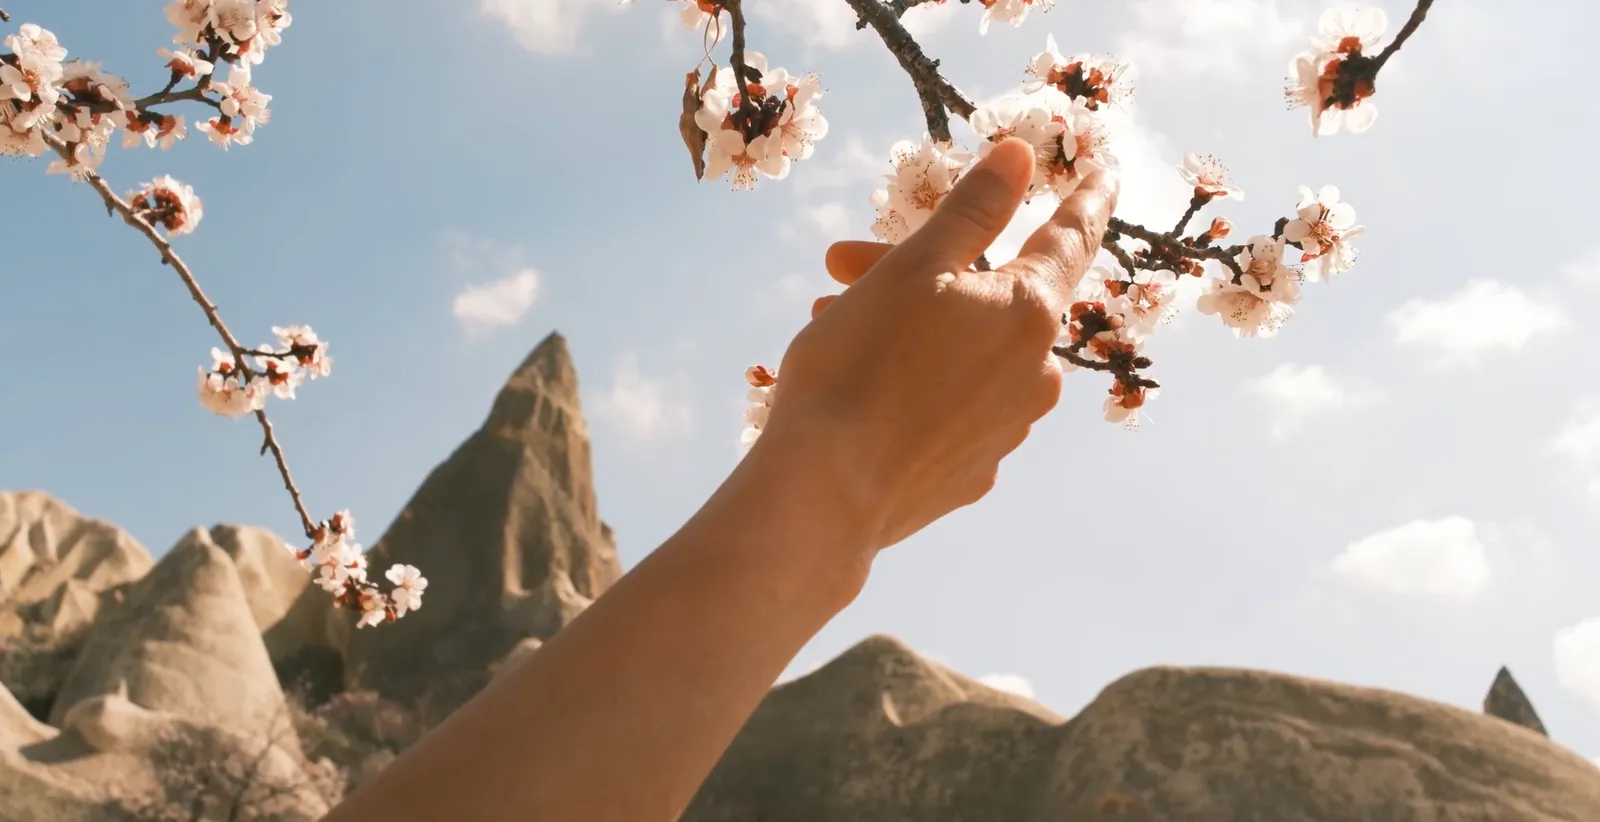
Fujifilm cameras allow users to apply film simulations directly to video files. This process removes the need for color grading in post-production. While many videographers use F-Log for maximum flexibility, in-camera recipes provide a finished look immediately after recording. The Classic Cinema recipe is a specific configuration designed for this purpose.
The logic of in-camera recipes
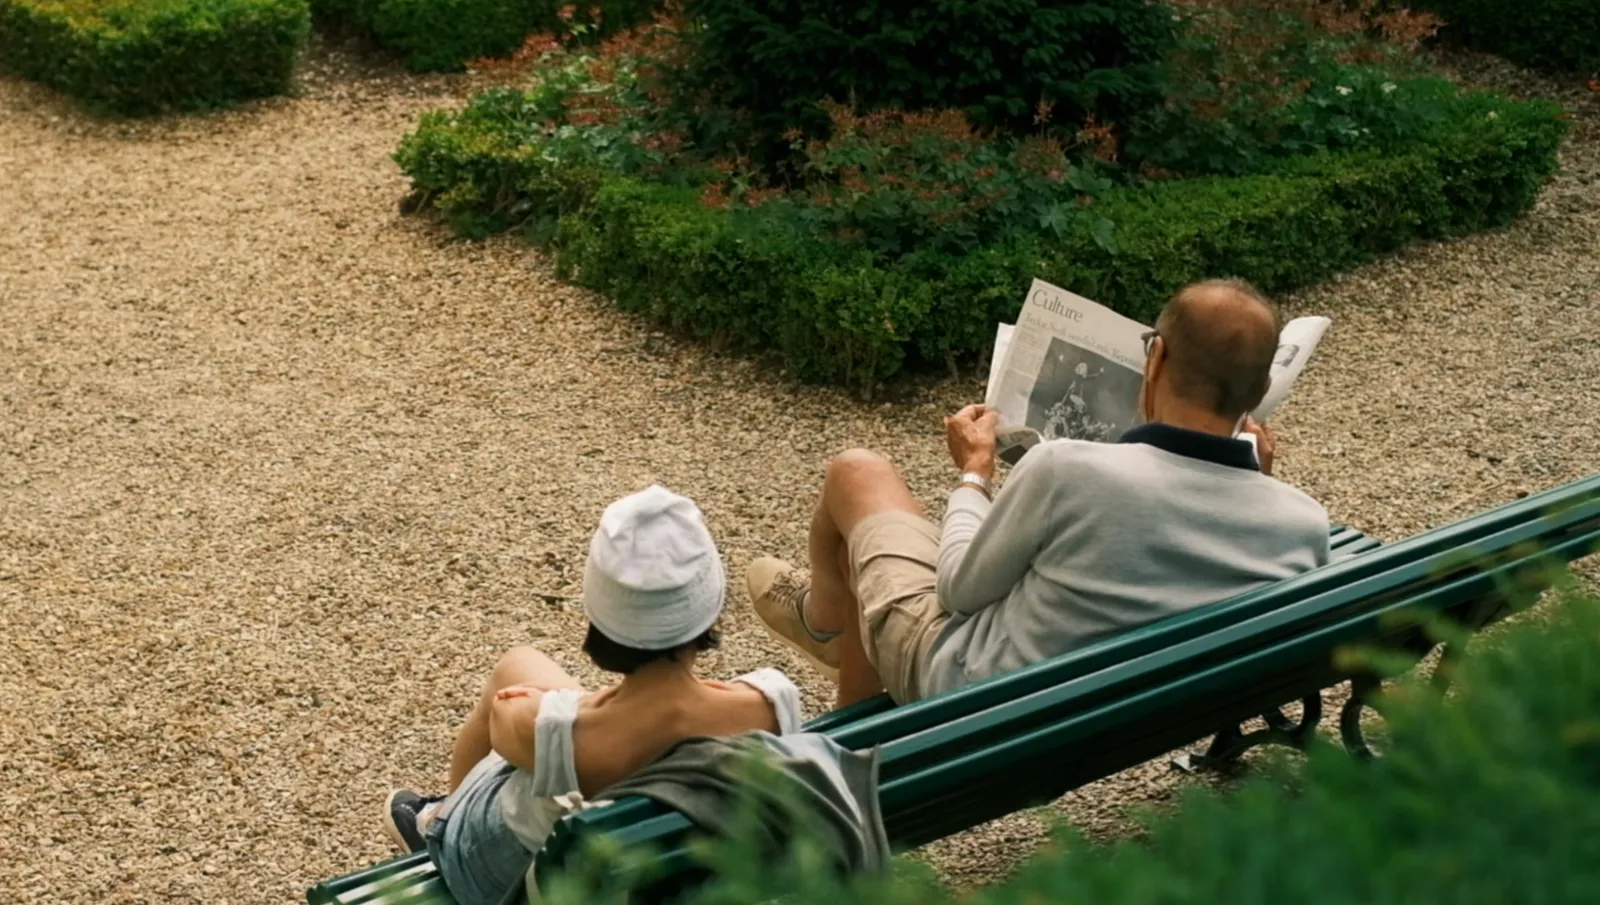
Using a recipe for video requires committing to a look before pressing record. This approach is common in documentary work, travel videography, and street scenes where a fast turnaround is necessary. The goal is to move away from the clinical sharpness of modern digital sensors and toward a softer, more organic appearance.
How to
Setting up a film simulation recipe for video follows a similar process to photography. Users must first switch the camera to video mode. The film simulation menu and image settings remain locked if the recording mode is set to F-Log or F-Log2. Selecting a standard recording mode instead enables these options. Once selected, the film simulation and individual image parameters can be adjusted. While photo mode typically allows for seven custom slots, some Fujifilm models only offer one dedicated slot for video settings.
Classic cinema recipe settings
This recipe uses classic negative as its foundation. It works on newer Fujifilm models including the X-T5, X-H2, X-S20, and X100VI.
- Film simulation: Classic negative
- White balance: Auto with a shift of R:+3 and B:-6
- ISO: 200 to 640
- Dynamic range: DR100
- Tone curve: -1 for highlights and -1 for shadows
- Color: +3
- Sharpness and details: -2
- High ISO noise reduction: -2
- Interframe noise reduction: Auto
The resolution is typically set to FHD at 29.97P for social media or 4K for higher quality projects.
Understanding the technical choices
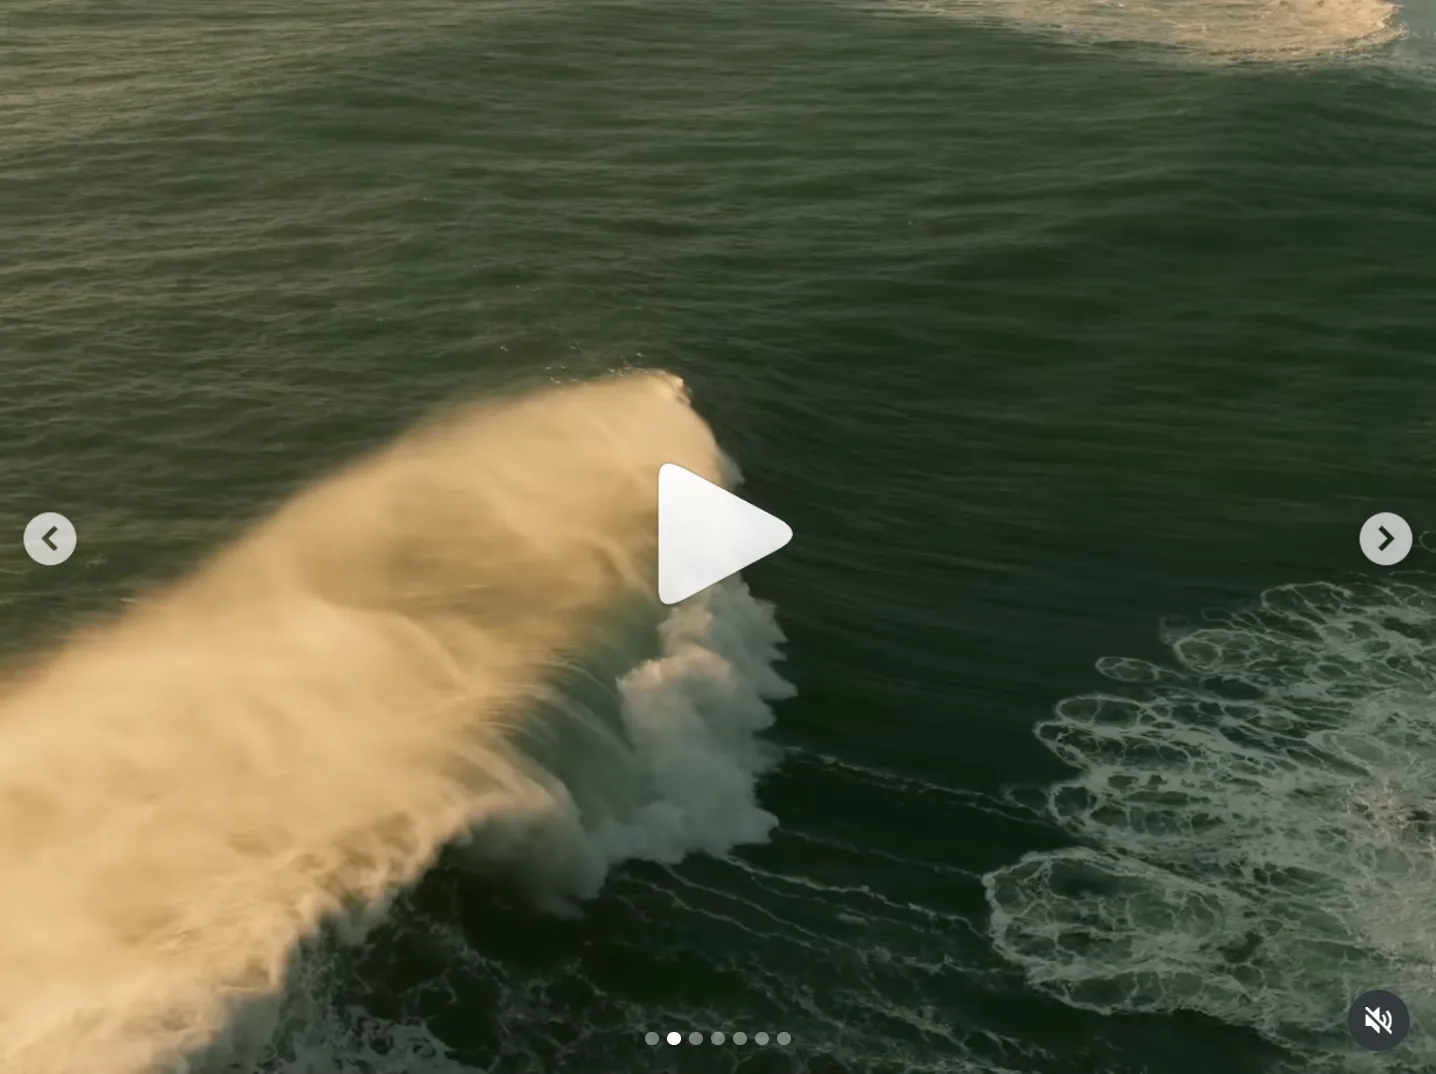
The choice of classic negative is based on its unique color response and gentle contrast. In video, a flatter profile helps preserve information in the shadows and highlights. The negative tone curve settings (-1 for both highlights and shadows) reduce contrast further to ensure the image does not look too harsh.
Setting details to -2 is a specific choice to counter digital sharpness. Modern lenses and sensors often resolve more detail than is aesthetically pleasing for filmic projects. This reduction mimics the rendering of analog film stock.
The ISO range is restricted between 200 and 640. This range keeps the footage clean. Classic negative handles shadows differently than other simulations; using higher ISO values can lead to color shifts that are difficult to fix later.
Practical application
This configuration is intended for situations with natural lighting, such as travel or urban exploration. It is not intended for commercial work that requires heavy color grading or chroma keying. Because the look is baked into the file, the white balance shift of R:+3 and B:-6 is used to give skin tones a natural warmth directly in the camera.
For those seeking even more diffusion, a 1/4 black pro mist filter can be added to the lens. This hardware addition complements the -2 details setting by adding a subtle glow to highlights.
To go further, you can visit more Fujifilm recipes here.
Help me keep writing
If these articles are useful to you, have a look at what I make.

Creator Pro
The ultimate DaVinci Resolve workspace for creators
View plugin — €29.00
VHS Nostalgia
Real VHS & CRT emulation for DaVinci Resolve
View plugin — €39.00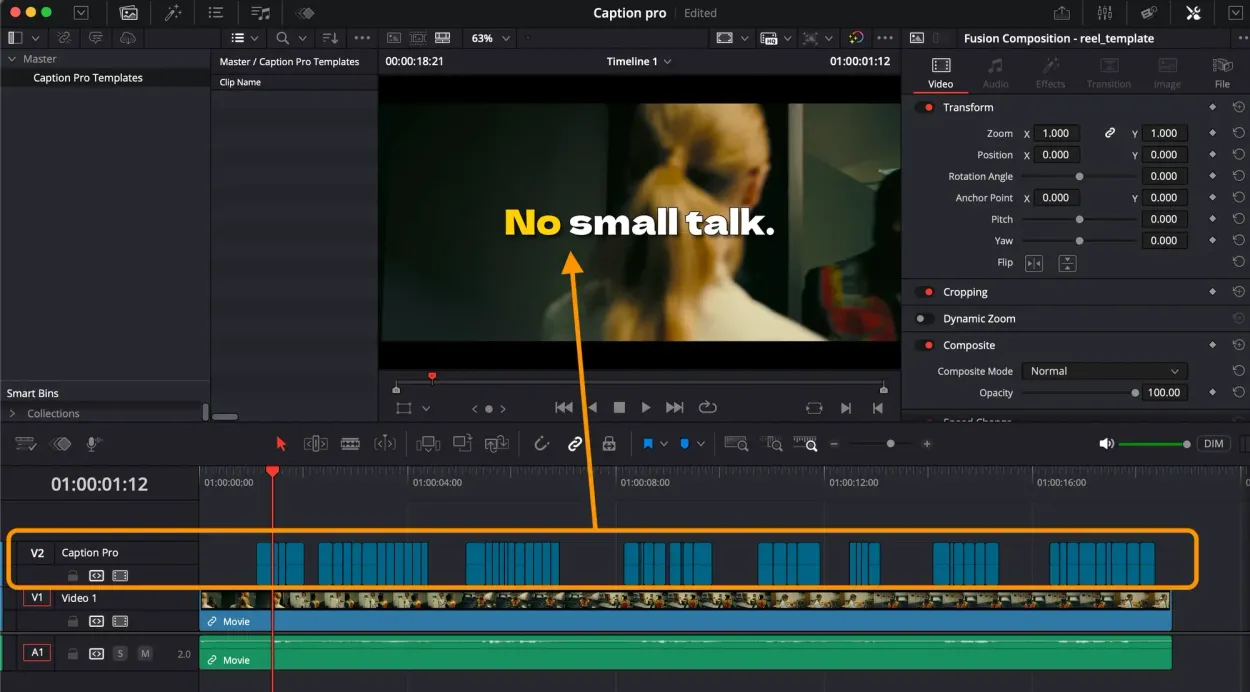
Caption Pro
Automatic word-by-word captions and translation for DaVinci Resolve
View plugin — €29.00
Get the zine
"Absorbed by the algorithm Vol. 1": 33 images shot in Paris, 28 pages, shipped worldwide.