beginner 5 min creator pro template installation media pool
How to Install the Creator Pro Template in DaVinci Resolve
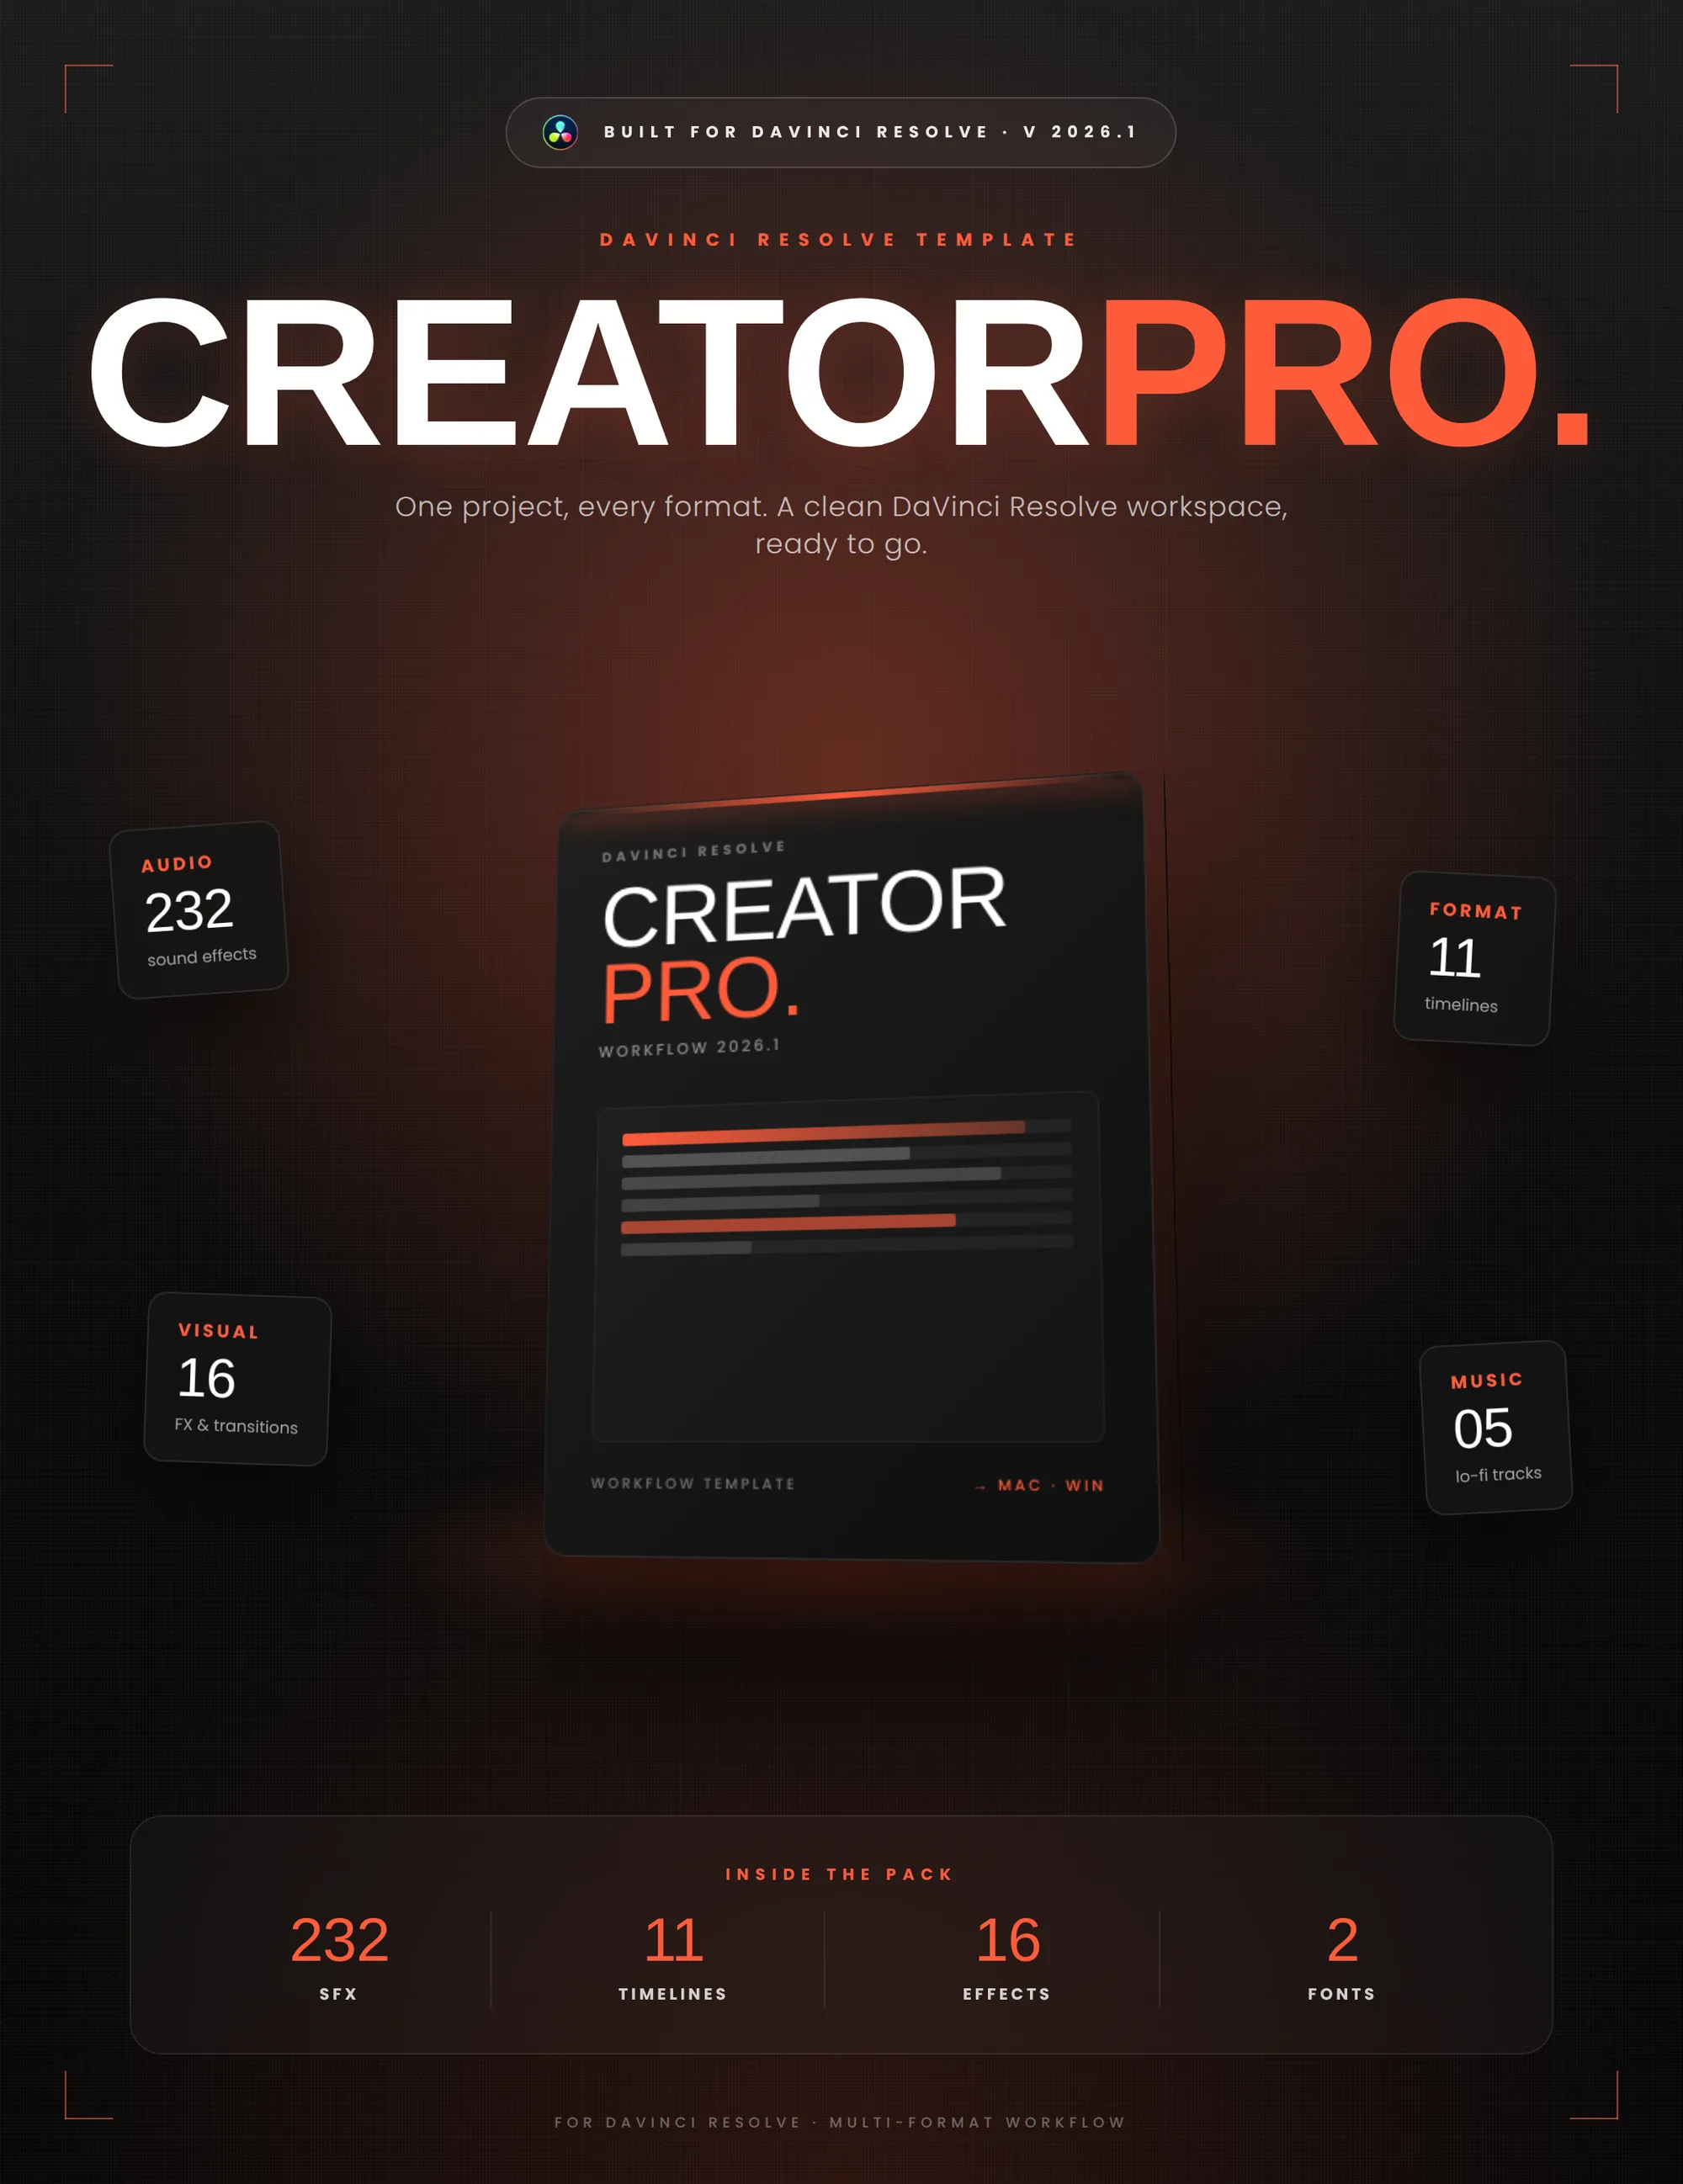
Creator Pro is a pre-organized DaVinci Resolve workspace: one project file with 11 pre-configured timelines covering every modern format, a Media Pool sorted into 8 color-coded folders, 232 sound effects, and audio tracks already routed with sidechain compression. Installation takes about five minutes and four steps: place the audio folders on your drive, install the two fonts, import the bin, and relink the audio files. This tutorial walks through each one.
Prerequisites
- •DaVinci Resolve 18 or later
- •The Creator Pro pack downloaded after purchase
- •About 5 minutes
Steps
1
Place the audio folders in a permanent location
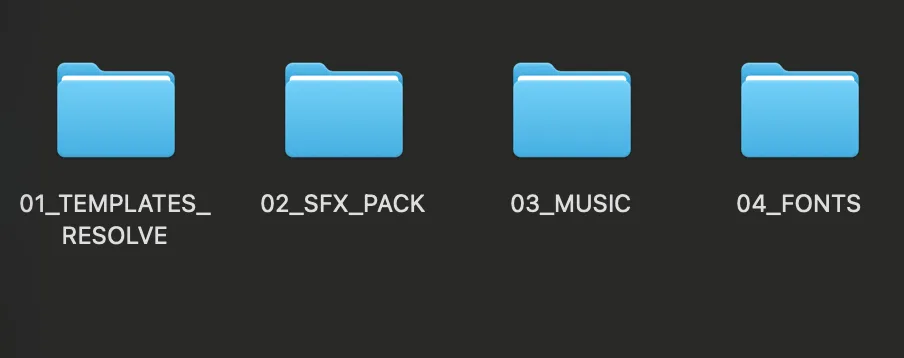
After downloading the pack, move the two physical audio folders to a permanent location: your Documents folder, or a dedicated external editing drive. 02_SFX_PACK contains the 232 sound effects, and 03_MUSIC contains the 5 lo-fi background tracks. Do not move or rename these folders afterwards. DaVinci Resolve needs a fixed file path to read the audio, and if the folders move later, every sound in the project goes offline and you will have to relink it again.
2
Install the two fonts
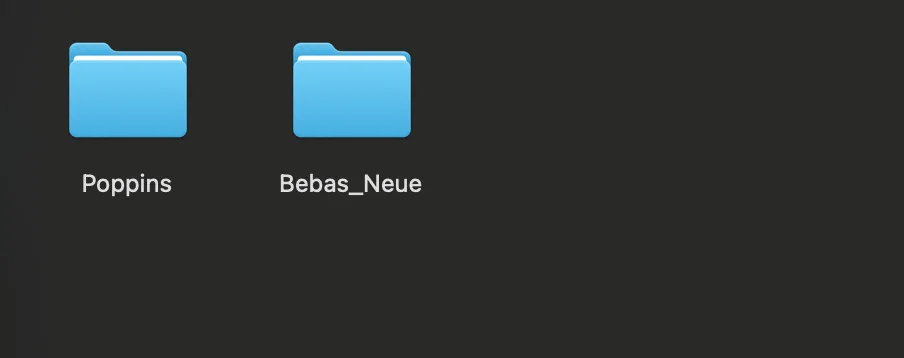
The titles in the template use two typefaces shipped in the 04_FONTS folder: Poppins (all variants) for body text, lower thirds, and small UI labels, and Bebas Neue Regular for bold headlines and split-highlight titles. Install them at the system level. On macOS, double-click each .ttf or .otf file and click Install Font in Font Book; for Poppins, you can select all the files and install them in one go. On Windows, select all the font files, right-click, and choose Install (or Install for all users if you are an admin). If DaVinci Resolve was already open, close it fully and reopen it after installing. Otherwise it will not pick up the new typefaces and the titles will fall back to a default font.
3
Import the workflow into DaVinci Resolve
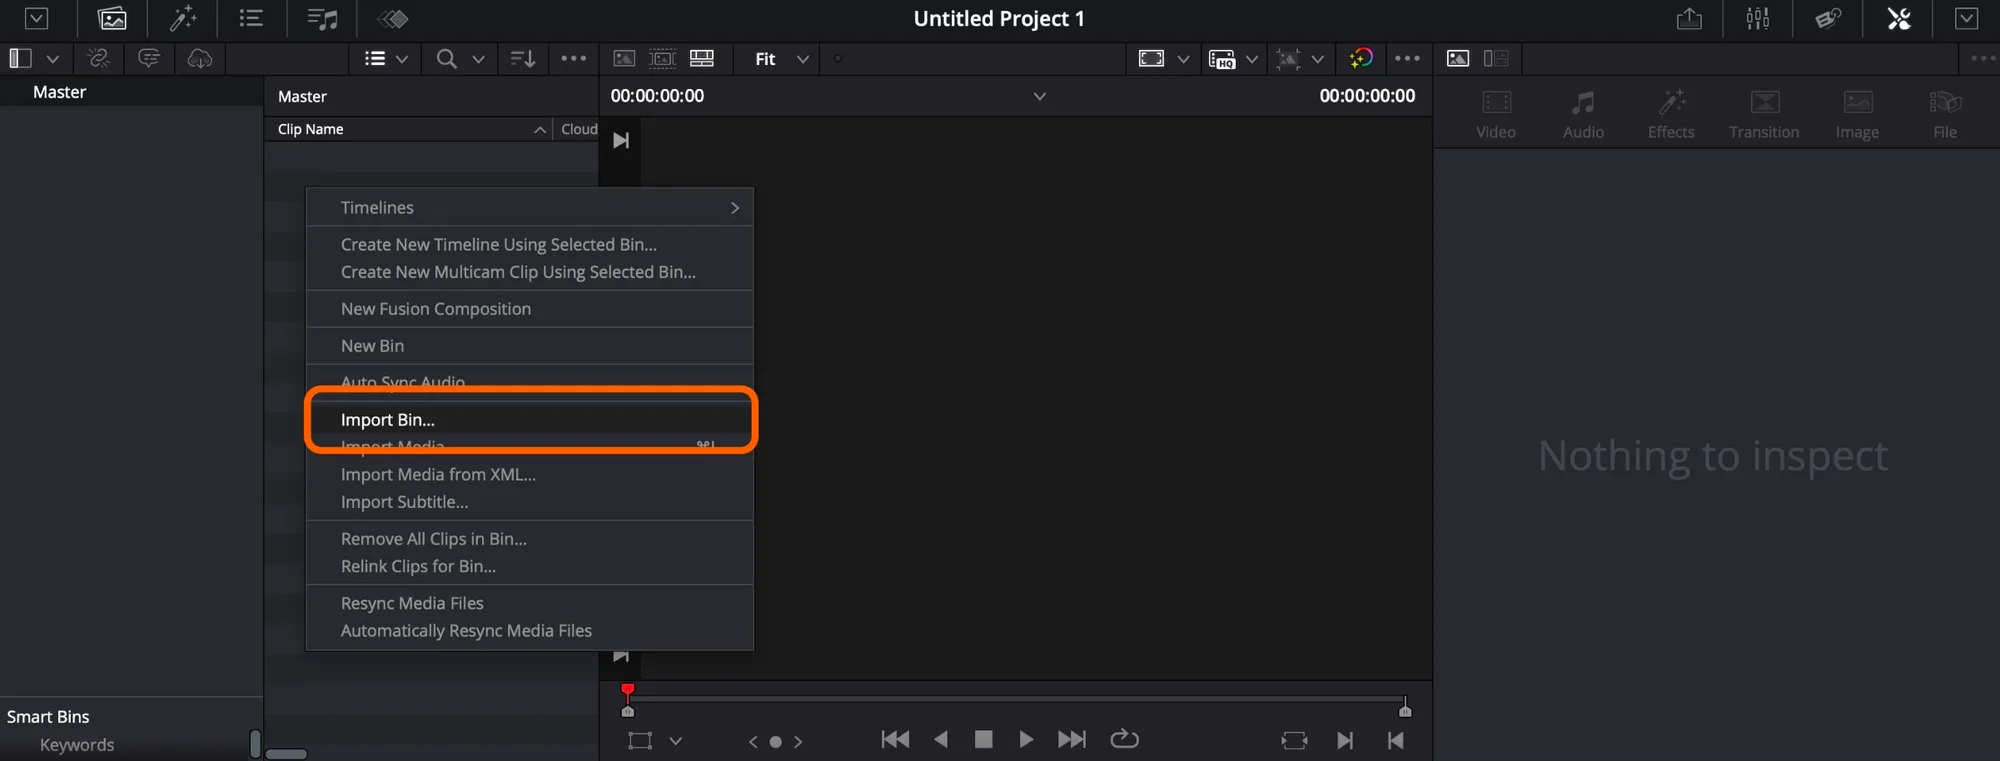
Open DaVinci Resolve, then open your current project or create a new one. Go to the Media Pool (top-left of the interface), right-click an empty area inside it, and choose Import Bin... Select CREATOR_PRO_Workflow_for_Davinci_Resolve.drb and click Open. The full architecture appears instantly: 8 color-coded folders, 11 timelines, and all the effects, titles, and audio bins.
4
Relink the audio files
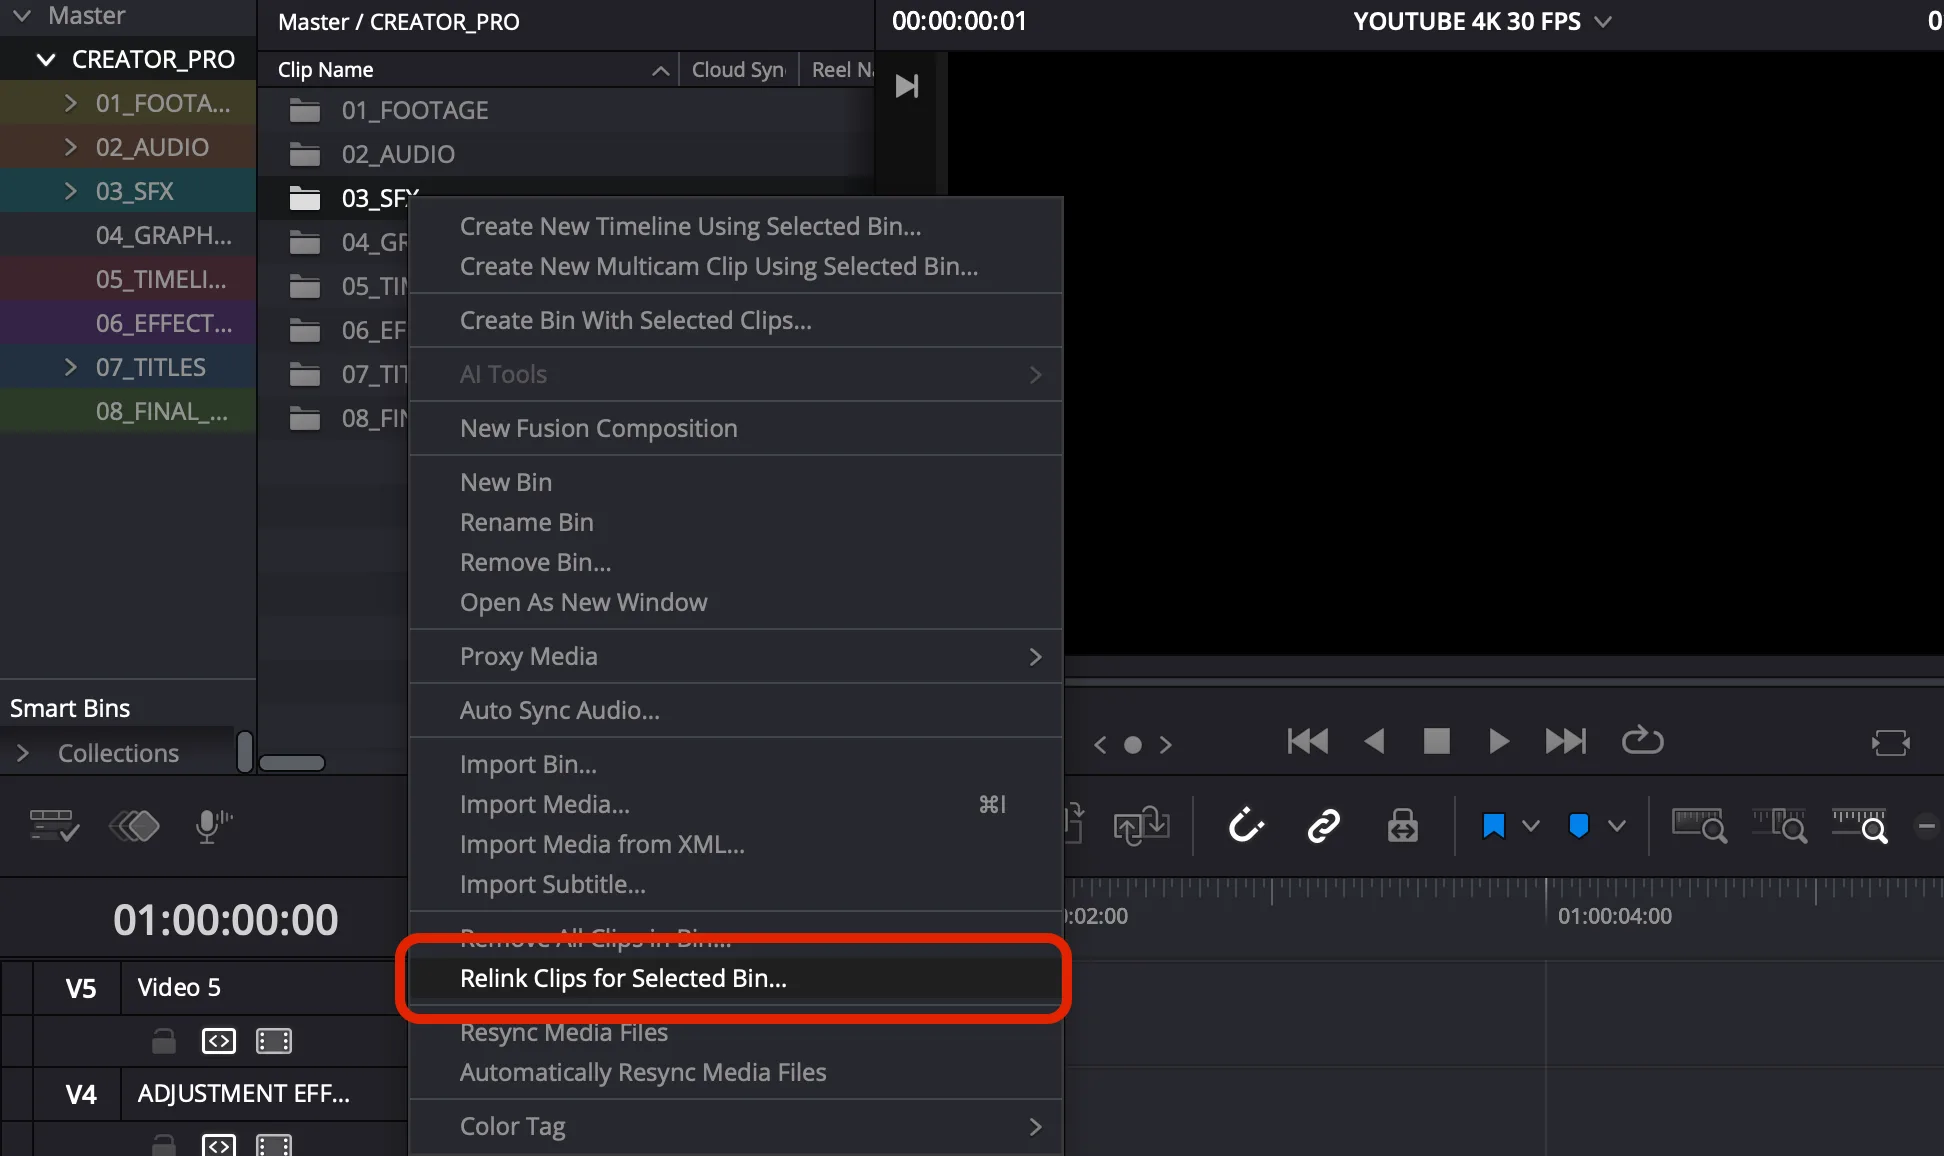
The pack was packaged in a studio environment, so DaVinci shows the audio in red as Media Offline: the original file paths point to another computer. Relinking takes a few seconds, and you will do it twice. For the sound effects: open the 03_SFX folder in the Media Pool, right-click it (or select all its sub-folders), choose Relink Source Folders..., navigate to the 02_SFX_PACK folder you placed in step 1, and click Open. The 232 sounds turn green. For the music: open 02_AUDIO > 02_MUSIC, right-click the 02_MUSIC folder, choose Relink Source Folders..., navigate to your 03_MUSIC folder, and click Open. The 5 lo-fi tracks turn green and are ready to drop on a timeline.
Conclusion
The template is installed. To keep the workflow available in every new project without re-importing the .drb file, open View > Show Power Bins and drag the root CREATOR_PRO folder from your Media Pool into the Power Bins section. It stays there for good. One rule to remember while editing: voice on A1, music on A2, SFX on A3. Keep that order and the Fairlight sidechain compression ducks the music automatically whenever you speak.
Related DaVinci Resolve Plugins from the Store